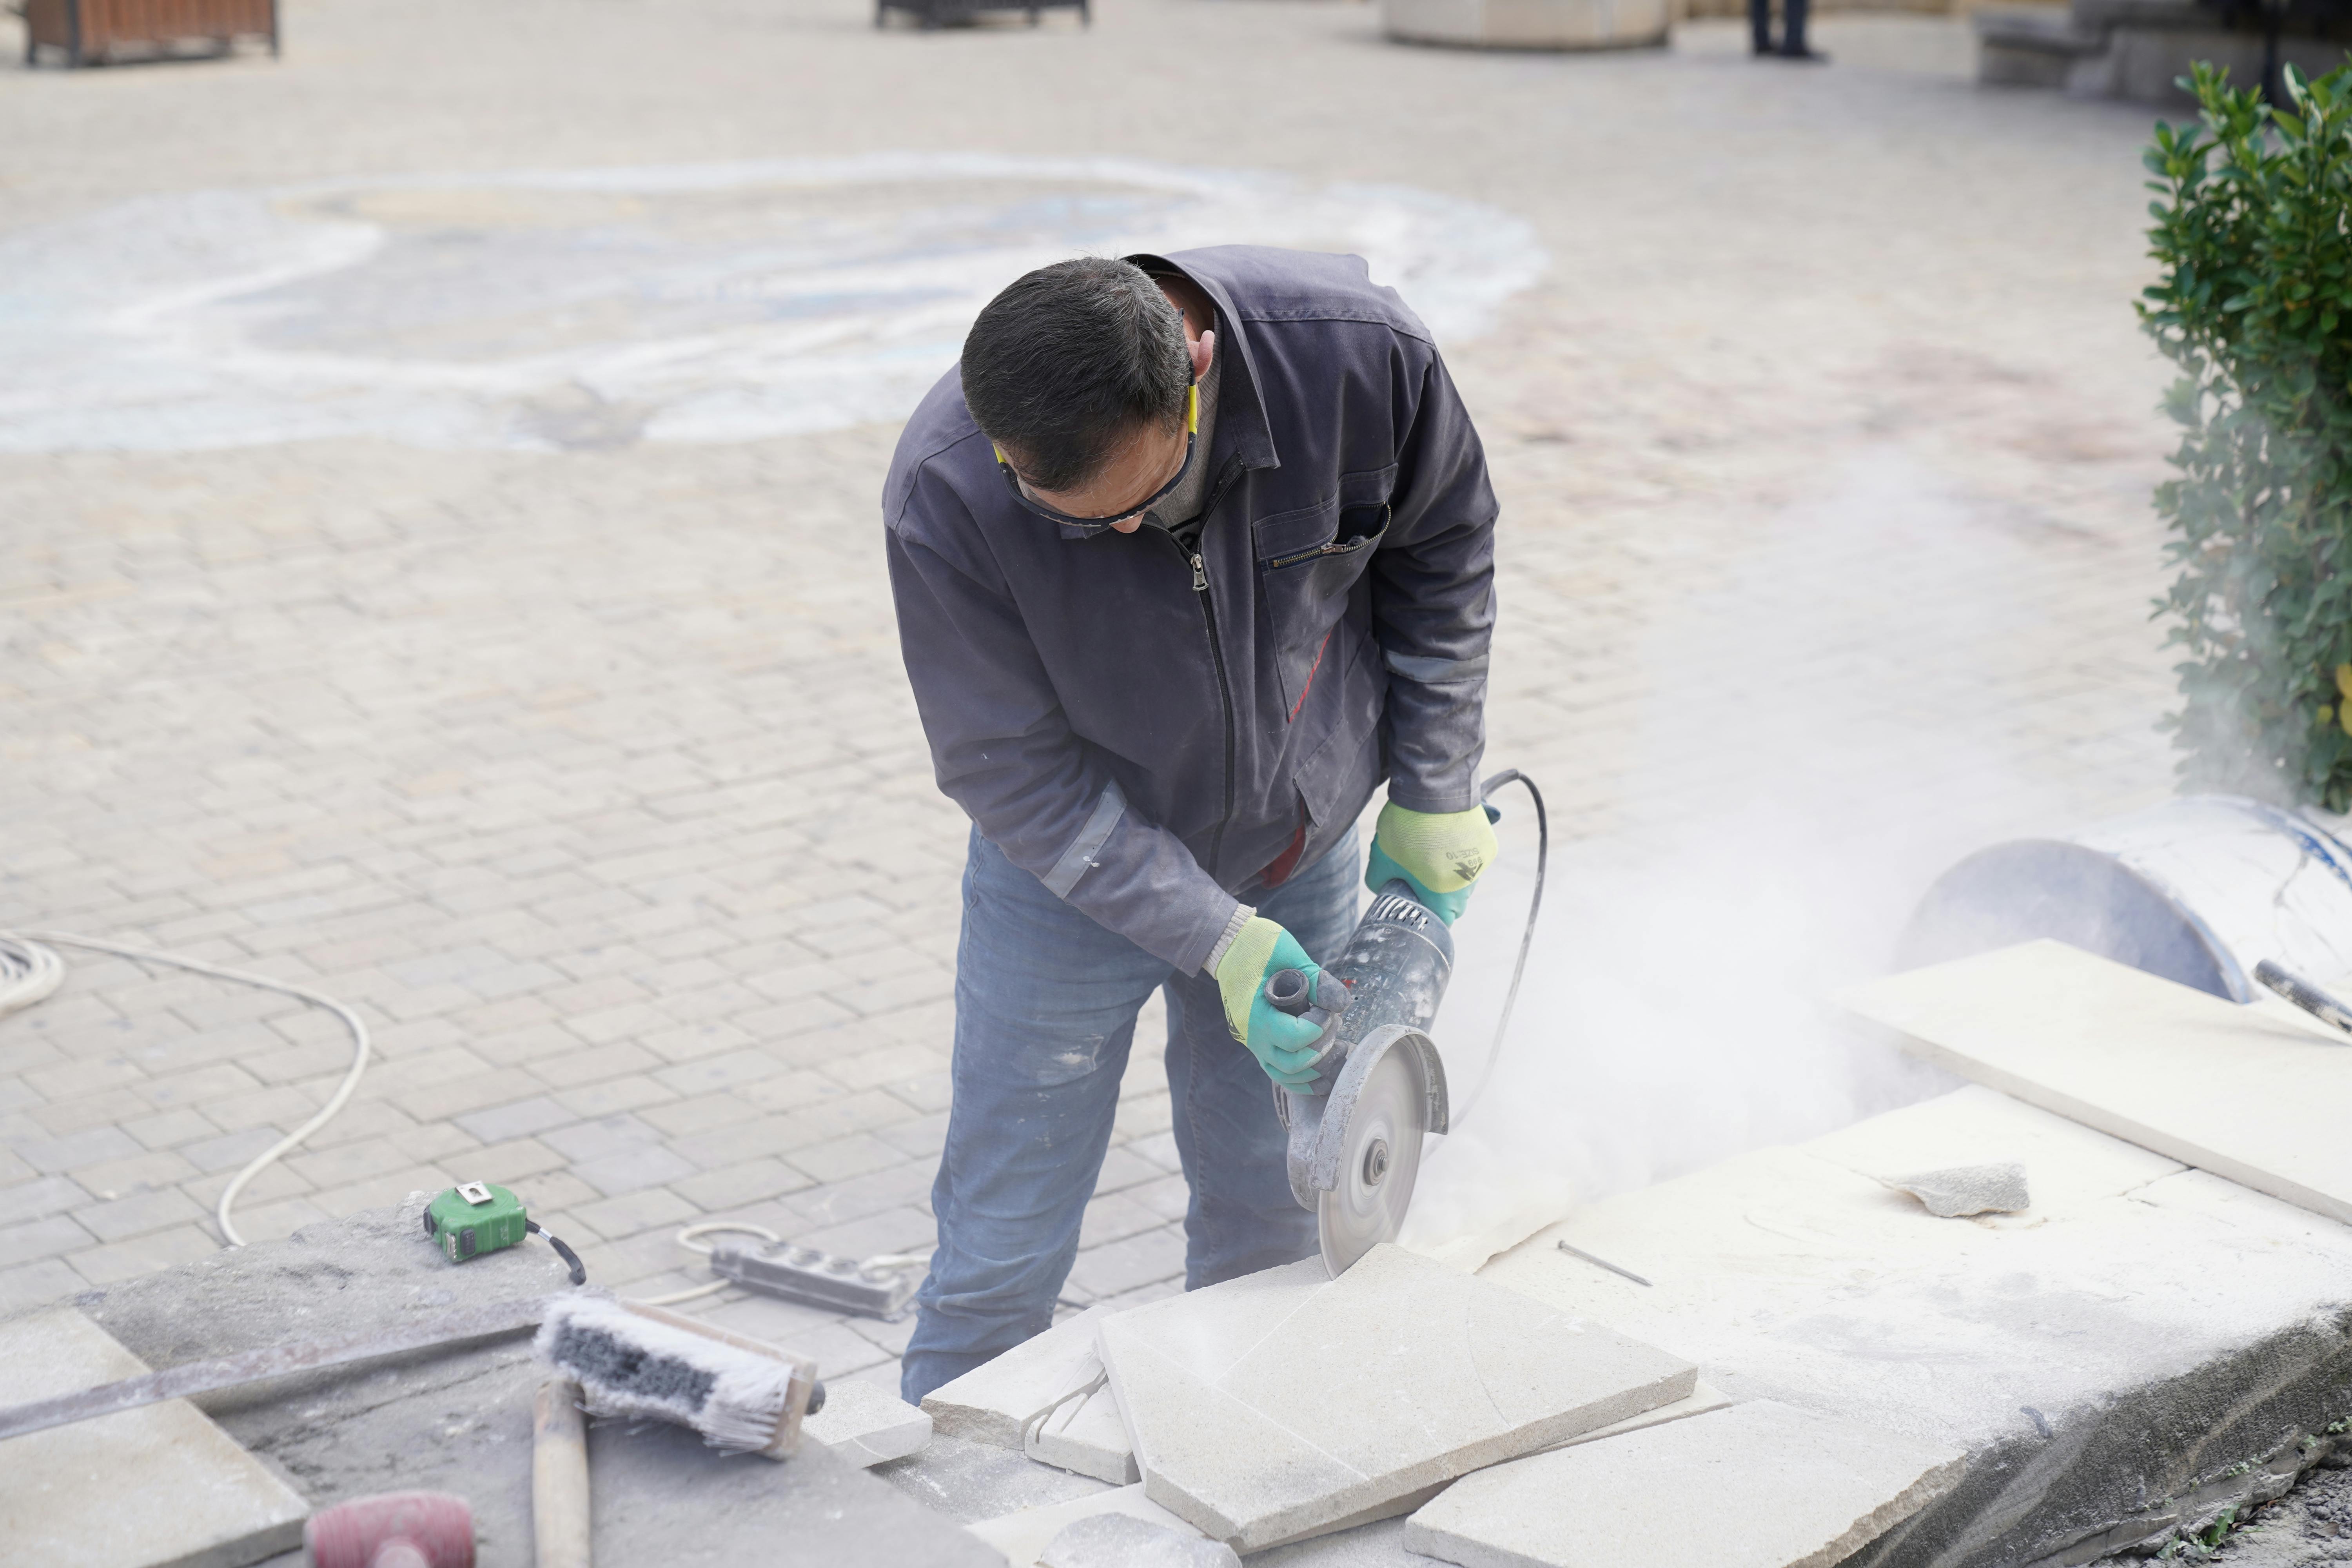
GUIDE — THE LAYER UNDER THE FINISH
What can be hidden
behind old tiles
With a tiled wall or floor, the surface is all you can see. What the tiles sit on, and how well it has held up, often stays hidden until the old finish comes off. This guide explains how I handle that, and why it’s part of every detailed written quotation I prepare.
LAYER 05 — EXISTING CONDITIONS
You only ever see
the top layer
At an on-site assessment I look closely at everything that’s visible: cracked tiles, tiles that sound hollow when tapped, uneven floors, worn or failing grout, and the edges where tiles meet other surfaces. These signs tell me a lot, and I use them to plan the surface preparation and suggest suitable materials.
Some things can’t be confirmed until what’s already there is removed. The condition of the wall or slab underneath, how firmly the old adhesive or render is bonded, and the quality of any earlier repairs are usually covered by the finish that’s being replaced.
That doesn’t mean you should expect the worst. It means I’m clear from the start about what an assessment can and can’t show, so neither of us gets caught off guard part-way through.
In my experience, proper preparation matters as much as the visible finish. A more expensive tile can’t make up for an unsuitable or poorly prepared surface. That’s why I want to know what’s underneath before any new tiles go down.
What I check once
the old finish is off
01 The substrate itself. Whether the wall or slab is sound and suitable to tile onto, or needs repair first.
02 Flatness and level. Whether the surface needs levelling so the new tiles sit evenly.
03 Old adhesive and render. What can stay in place and what should be removed.
04 Earlier repairs. Any patching left by previous work, and whether it will hold up under a new finish.
05 Plumbing and electrical points. Anything that needs attention goes to appropriately licensed specialists. I don’t carry out that work myself.
IF SOMETHING TURNS UP
I stop and
talk it through
01
Pause
I stop work on the affected area. I won’t tile over a problem just to keep the job moving.
02
Show you
I show you what I’ve found and explain in plain English what it means for the surface and the new tiles.
03
Explain the options
I go through the practical solutions, what each one involves and any limits. If a component needs appropriately licensed specialists, I tell you that too.
04
Agree before continuing
Any change to the scope is agreed with you before work on that area continues.
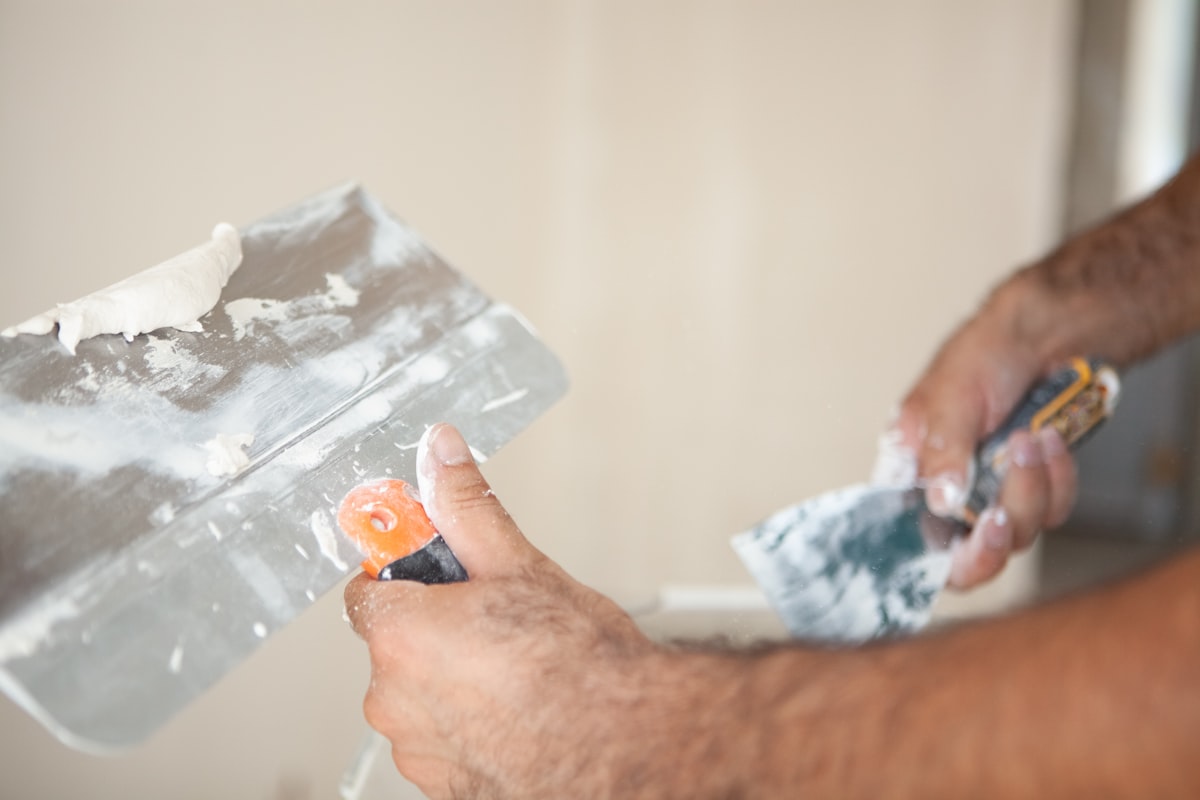
WRITTEN QUOTATIONS
Why the quotation follows
the agreed scope
After the on-site assessment, I put together a detailed written quotation covering the work we’ve agreed on: the areas involved, the surface preparation and the materials. Costs, timeframes and work requirements depend on the existing property, the materials you choose and that agreed scope.
If concealed conditions call for extra work, it falls outside the original quotation. I raise it with you first, and nothing extra goes ahead on assumption. Any figures mentioned before a written quotation are general guidance only.
The full sequence is set out in On-site Assessment & Detailed Written Quotation, and the conditions are covered in my Quotation & Work Terms.
Planning to replace
old tiles?
Tell me your suburb and what you’d like done. Photos help if you have them. I’ll look at the existing conditions with you before suggesting anything, and both the assessment and the quotation are free.