WORK & MATERIALS — STAGES OF A TILING JOB
A typical retiling job
passes through six stages.
A finished floor or wall only shows the last stage. This page goes through the sequence of a typical retiling job, from taking off the old tiles to cleaning back the grout, so you know what happens in your home, when it happens and why each stage matters.
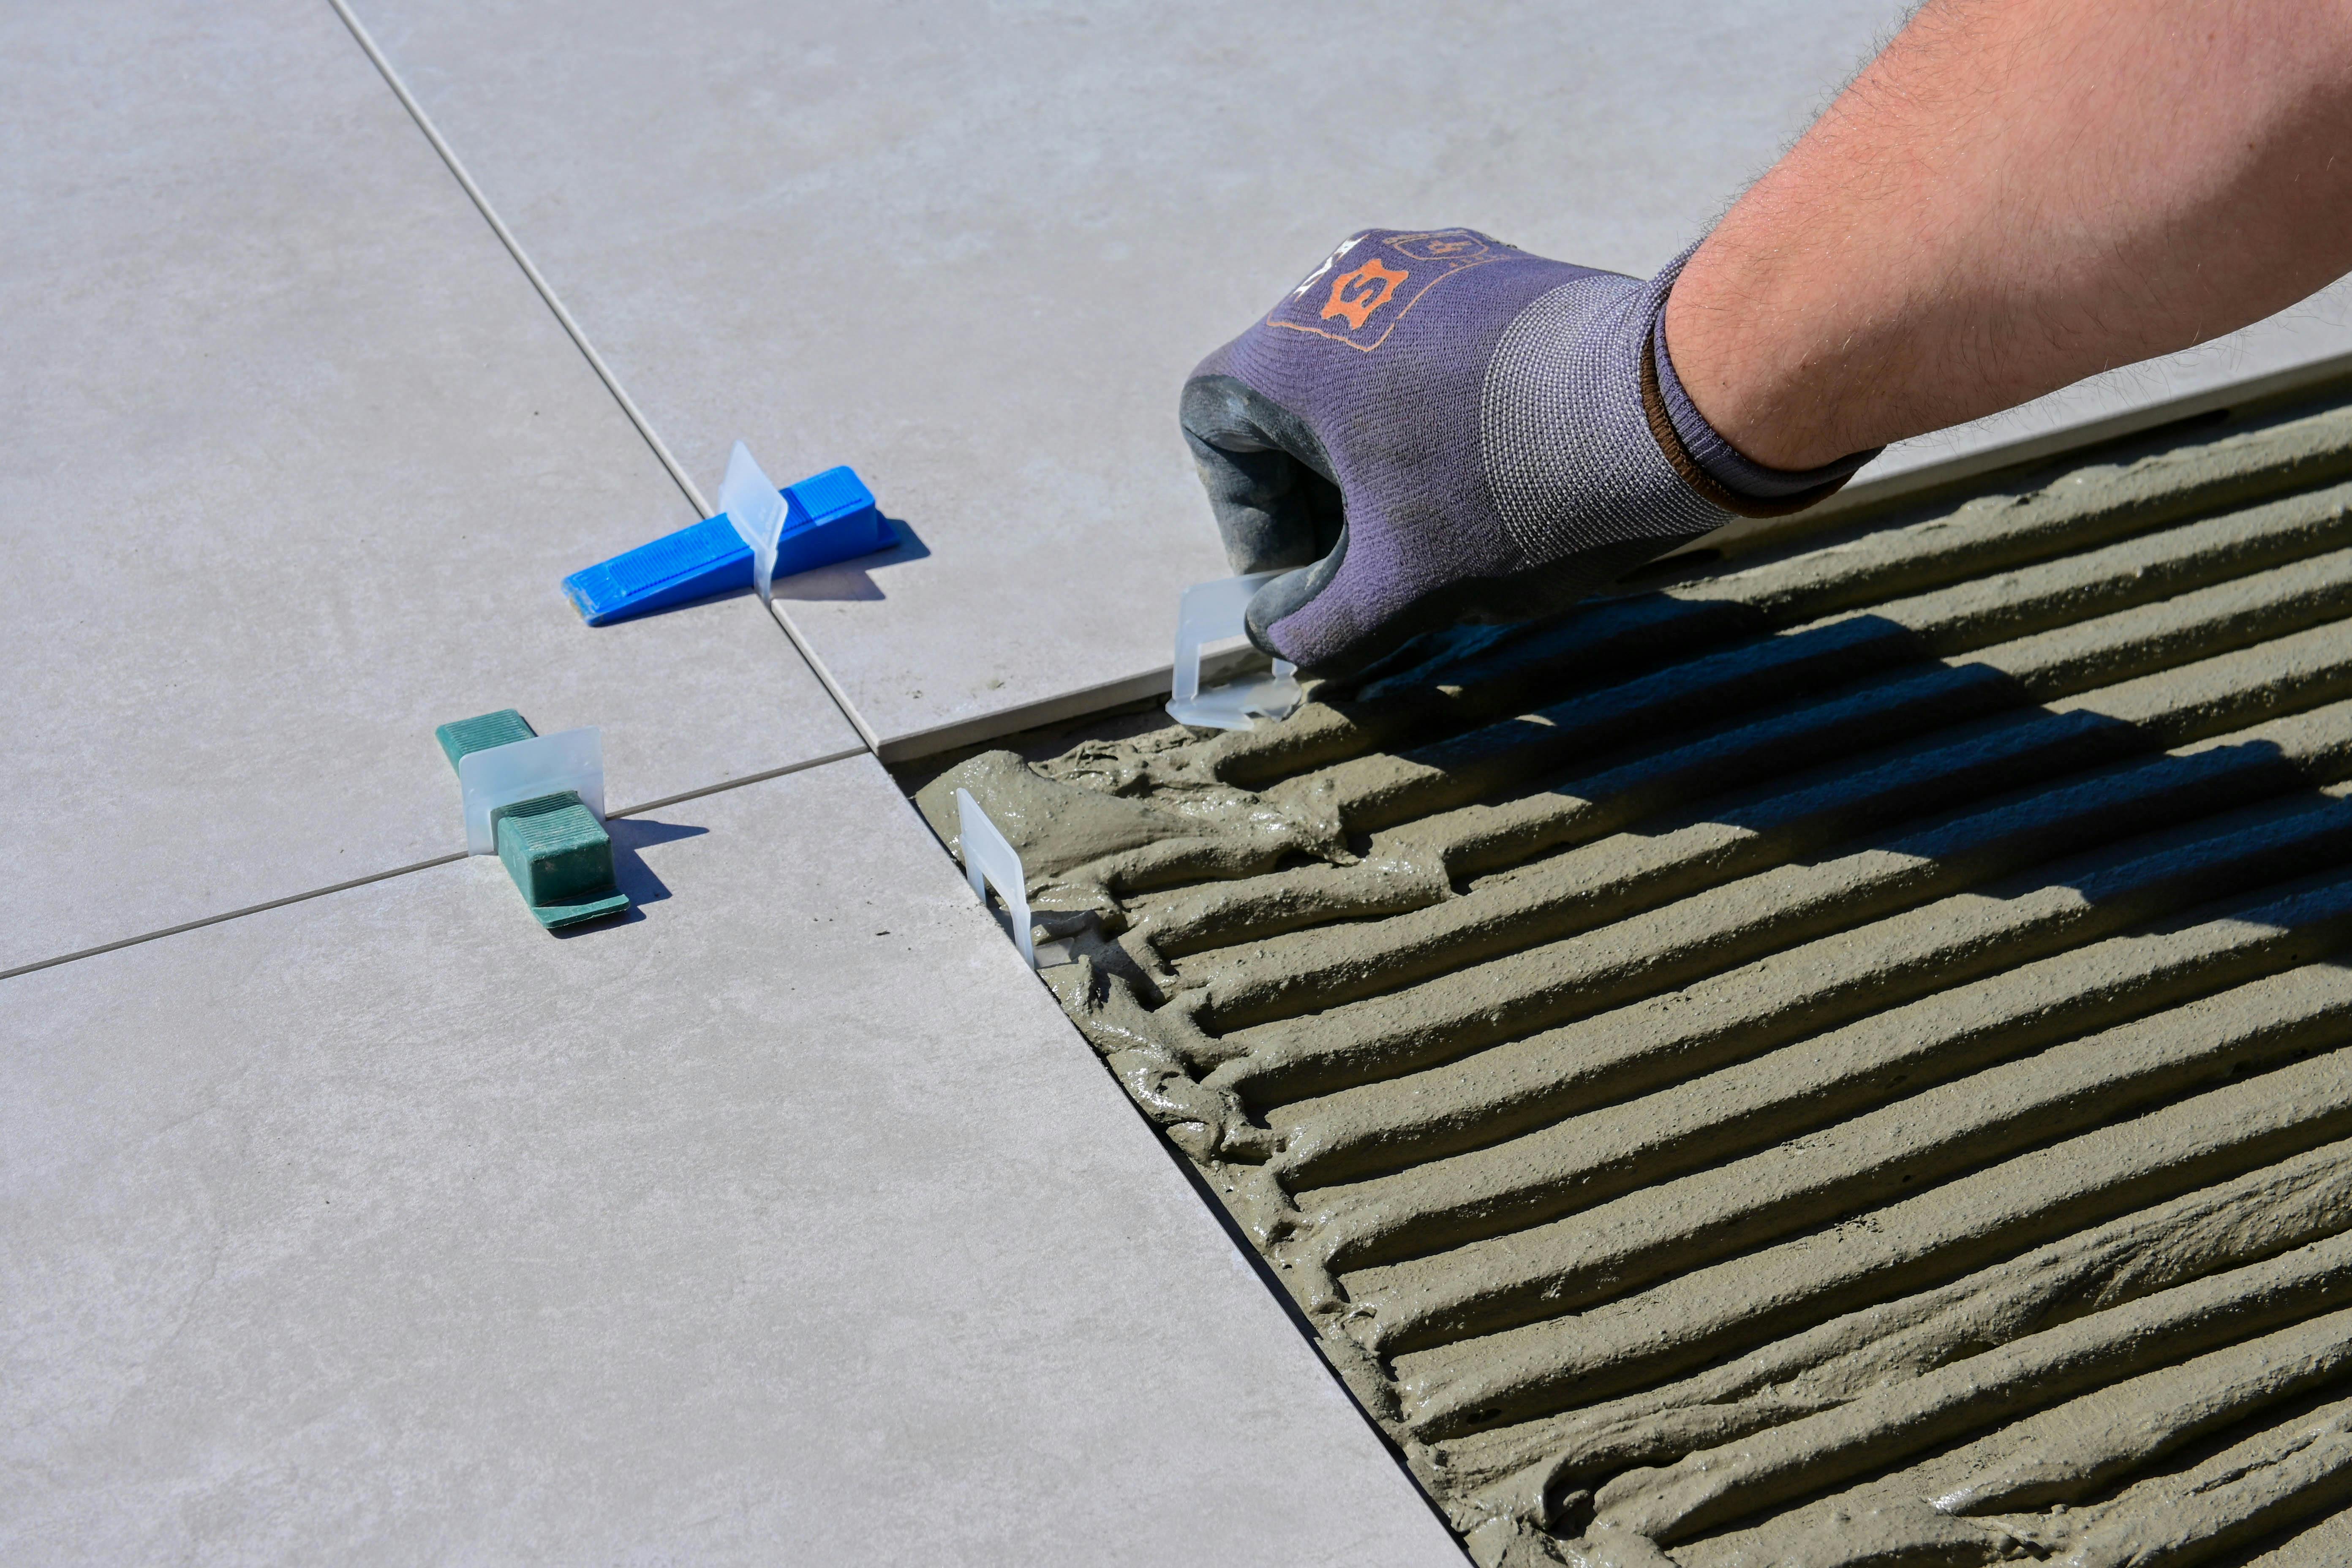
Reference image — stage 05, tiling: large floor tiles set over mortar with spacers and levelling clips.
WHAT THIS PAGE COVERS
The same sequence applies whether it’s bathroom tiling, a kitchen splashback, a laundry or general wall and floor tiling. The amount of work in each stage is what changes, and that depends on your home’s existing conditions.
THE SIX STAGES
01 Removal
02 Exposing the existing conditions
03 Surface preparation
04 Setting out
05 Tiling
06 Grouting and finishing
01
STAGE 01 — UNDER THE OLD FINISH
Removal
Old tiles, adhesive and loose material come off carefully, so the surface underneath isn’t damaged more than it needs to be. I keep the work area as contained as is practical, because you’re usually still living in the house.
02
STAGE 02 — WHAT WAS HIDDEN
Existing conditions
Once the old finish is off, you can see the slab or wall for the first time. Some conditions only show up at this point. If what I find changes the scope, I explain it and talk through the options with you before going any further. More in What Can Be Hidden Behind Old Tiles.
03
STAGE 03 — THE BASE
Surface
preparation
This means cleaning and repairing the surface, levelling it where needed and making sure it suits the tile and adhesive you’ve chosen. A more expensive product can’t make up for a poorly prepared surface. See Surface Preparation.
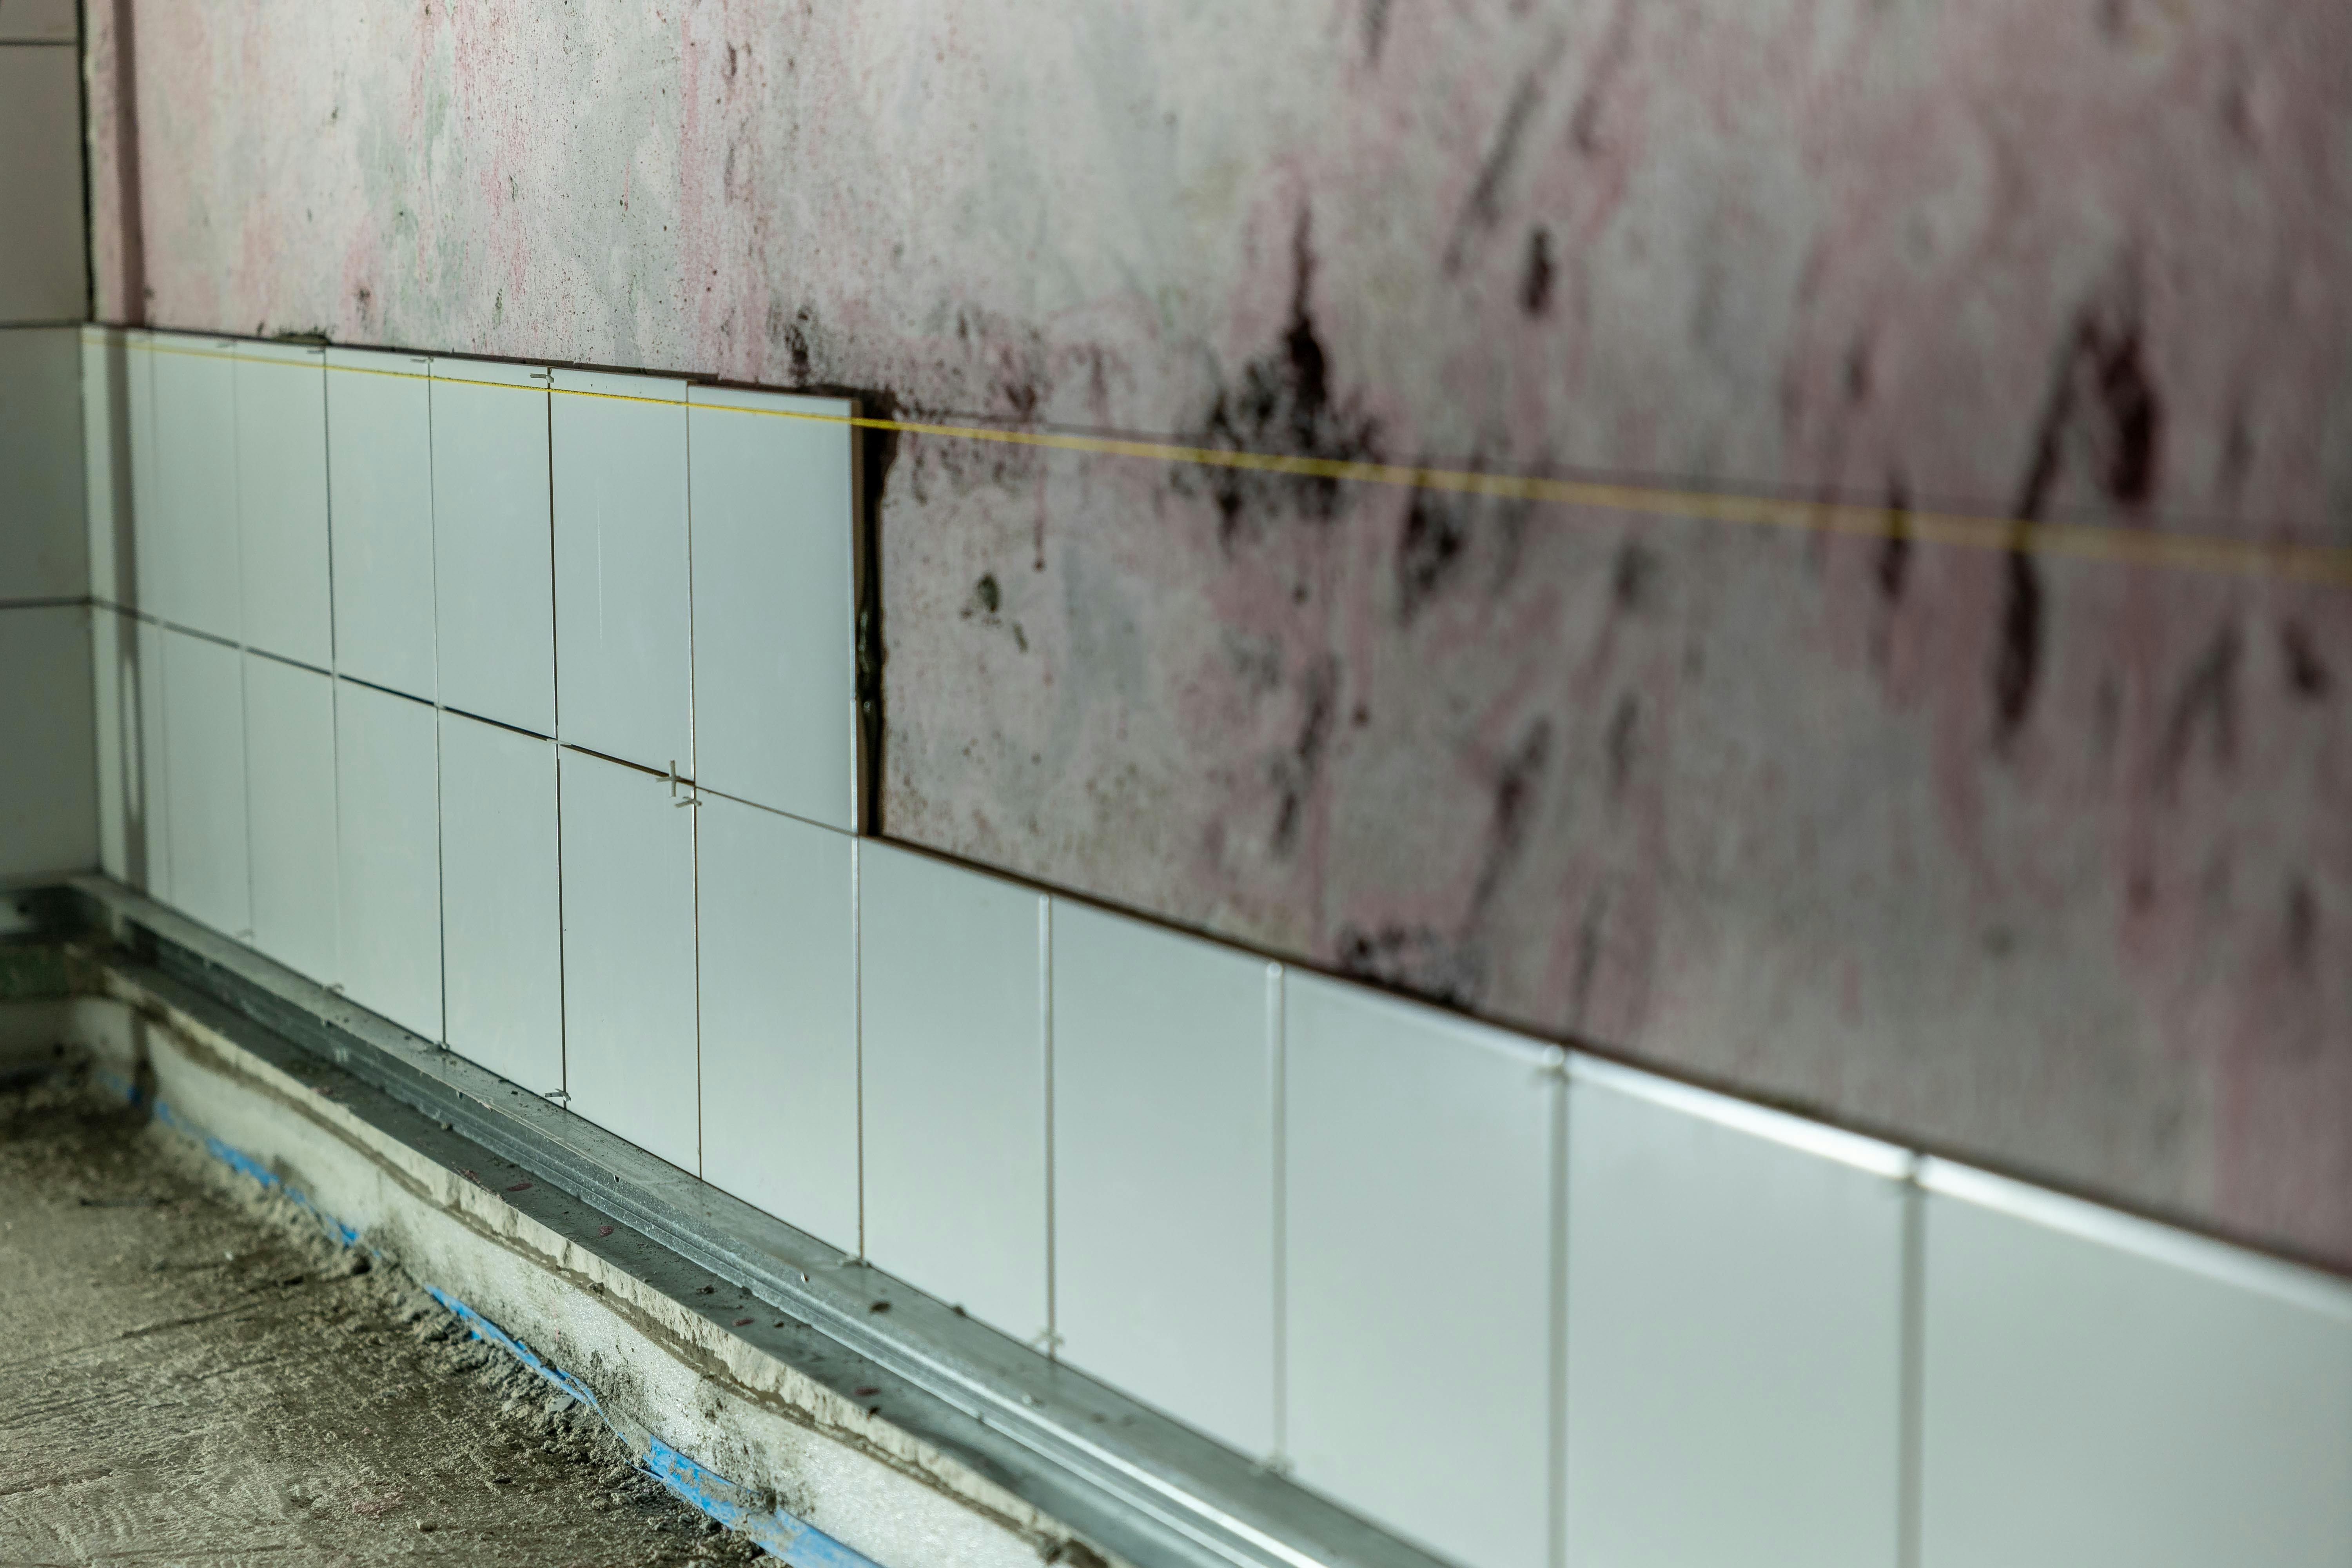
Reference image — stage 04, setting out: wall tiles going up in rows, with a tape measure marking the layout.
STAGE 04 — SETTING OUT
Plan the lines before fixing a tile
I plan the layout before the first tile goes on. That covers where the cuts fall, how the lines meet doorways, benches and fixtures, and which part of the room people see first. Small slivers of tile at a doorway are much easier to avoid on paper than on the wall.
STAGE 05 — TILING
Set, space and check as I go
Each tile goes into adhesive with even coverage, and I keep the spacing and level consistent along the run. I check the work as I go, because problems are easier to fix while the adhesive is still workable.
STAGE 06 — GROUTING AND FINISHING
Fill, clean back, look again
The joints are filled and cleaned back, then I check the whole surface again. Edges, trims and the places where tile meets other finishes get the same attention as the open areas. For help choosing materials, read Choosing Suitable Tiles for Bathrooms, Kitchens & Laundries.
BEFORE YOU PLAN AROUND IT
No two jobs
spend the same time
in each stage.
Costs, timeframes and the work involved depend on the existing property, the materials you choose and the agreed scope. Any figure you hear before a detailed written quotation is only general guidance. Because concealed conditions may only become apparent after the old finishes are removed, stage 02 is where plans most often need a second conversation.
Where a job involves plumbing or electrical work, appropriately licensed specialists complete those parts. You still deal directly with me about the tiling and how it fits around their work. The full sequence, from enquiry to the on-site assessment and detailed written quotation, has its own page.
YOUR SPACE, STAGE ZERO
Send me photos of
the room as it is now.
A few clear photos of the floor or wall you want tiled, including any cracked tiles, drummy spots or uneven areas, help me understand the existing conditions before the free on-site assessment. Let me know your suburb and what you’d like done, and I’ll take it from there.