CHAPTER 06 — FLOORING IMPROVEMENTS
A new floor starts
with the old one.
I improve tiled floors in homes across Bentleigh and the surrounding Melbourne suburbs. That might mean replacing cracked or loose tiles, retiling a room, or getting a tired floor ready for a new finish. Whatever the job, I start with the floor that’s already there, because that’s what the new finish will rely on.
ON THIS PAGE
01 Reading the existing floor
02 Practical options
03 Preparing before the new finish
04 What sits underneath
01
LAYER 01 — THE FLOOR YOU HAVE NOW
Reading the
existing floor
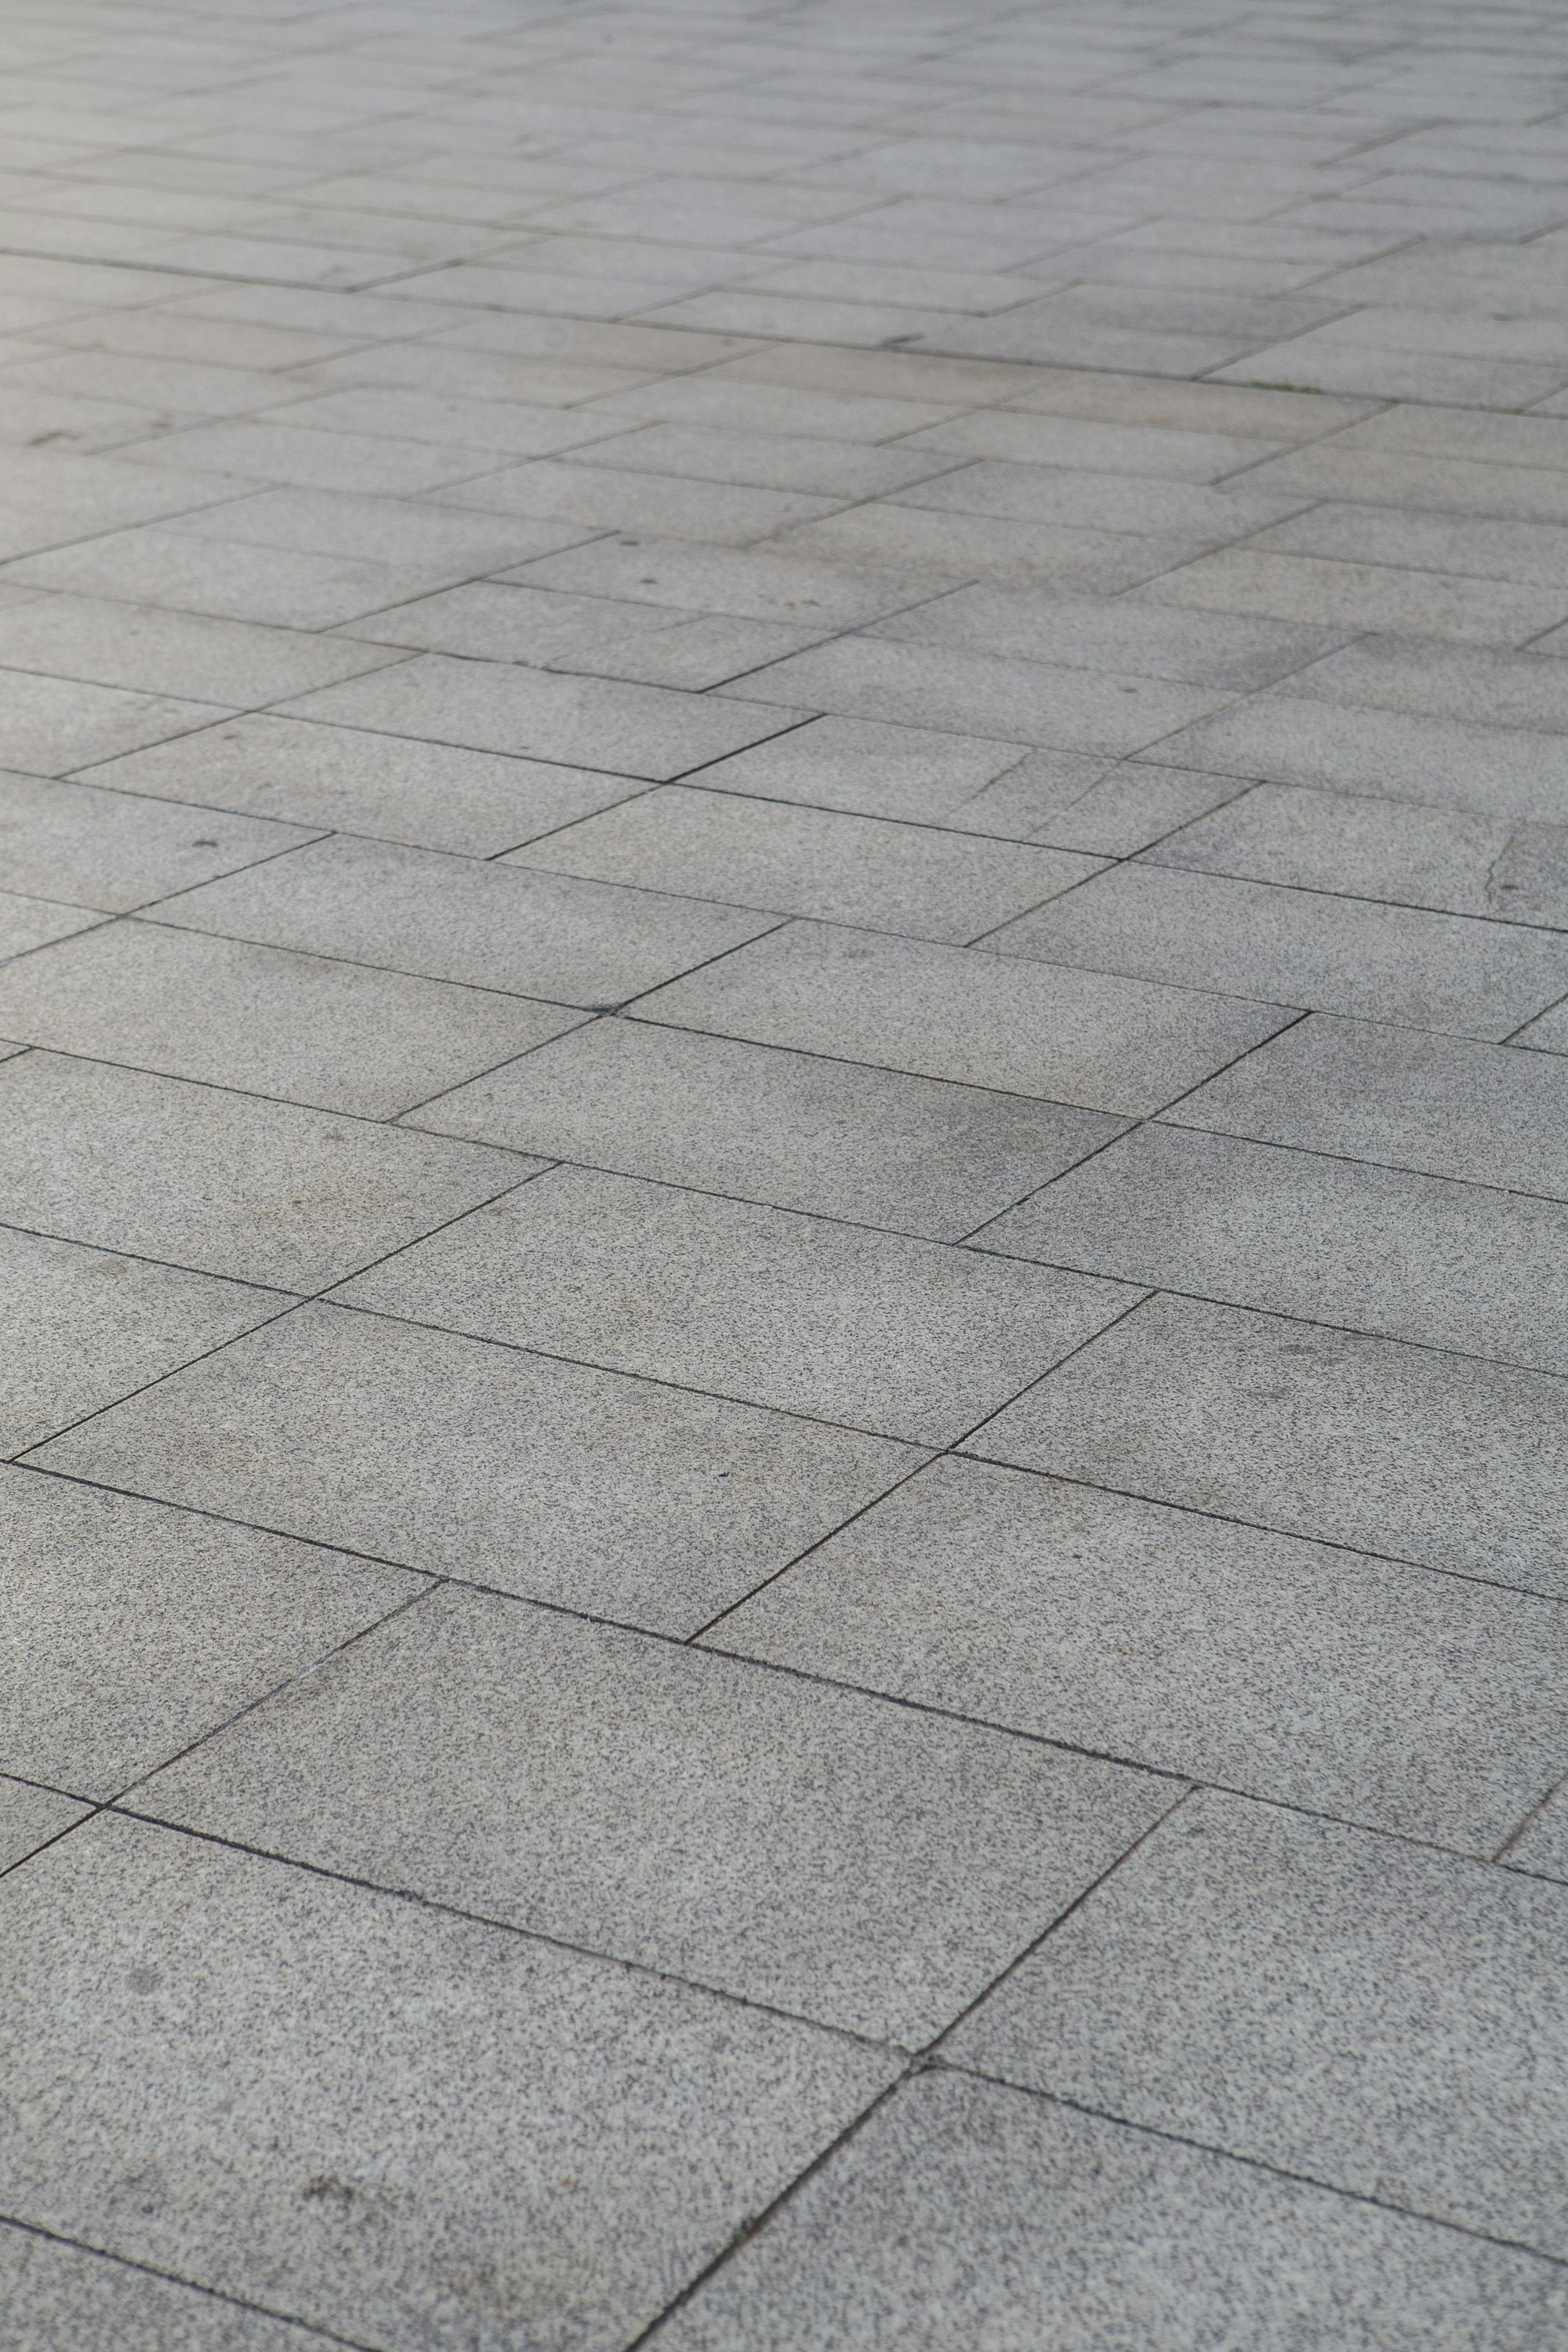
Cracked tiles, hollow-sounding patches, crumbling grout and uneven edges are usually signs of something below the surface rather than problems on their own. During the free on-site assessment I walk the floor, tap the tiles and look at how the room is used before I suggest anything.
I also check how level and firm the floor feels, whether any tiles are loose or drummy, and how the floor finishes against doorways, cabinetry and the rooms next to it. Height matters too: a new layer can change how doors swing and how floors meet.
LAYER 02 — PRACTICAL OPTIONS
Three ways a tired
floor can go
Which option suits your home depends on the existing conditions, the tiles you choose and what you want the room to do. I explain the trade-offs plainly so you can decide.
A — REPAIR
Replace selected tiles
Where the floor is sound and the damage is limited, cracked or loose tiles can be lifted and replaced. Matching older tiles isn’t always possible, so we talk about that before work starts.
B — OVER
Tile over what's there
Sometimes the existing tiles are firmly bonded and flat enough to tile over once they’ve been properly prepared. It isn’t the right answer for every floor, and I’ll tell you if it isn’t for yours.
C — REMOVE
Strip back and start again
When tiles are failing across the room, removing them and preparing the surface underneath gives the new floor the best footing. It’s more work, but it deals with the cause and not just the symptom.
LAYER 03 — PREPARATION
Preparing before
the new finish
In my experience, proper preparation matters as much as the visible finish. A more expensive tile cannot make up for an unsuitable or poorly prepared surface.
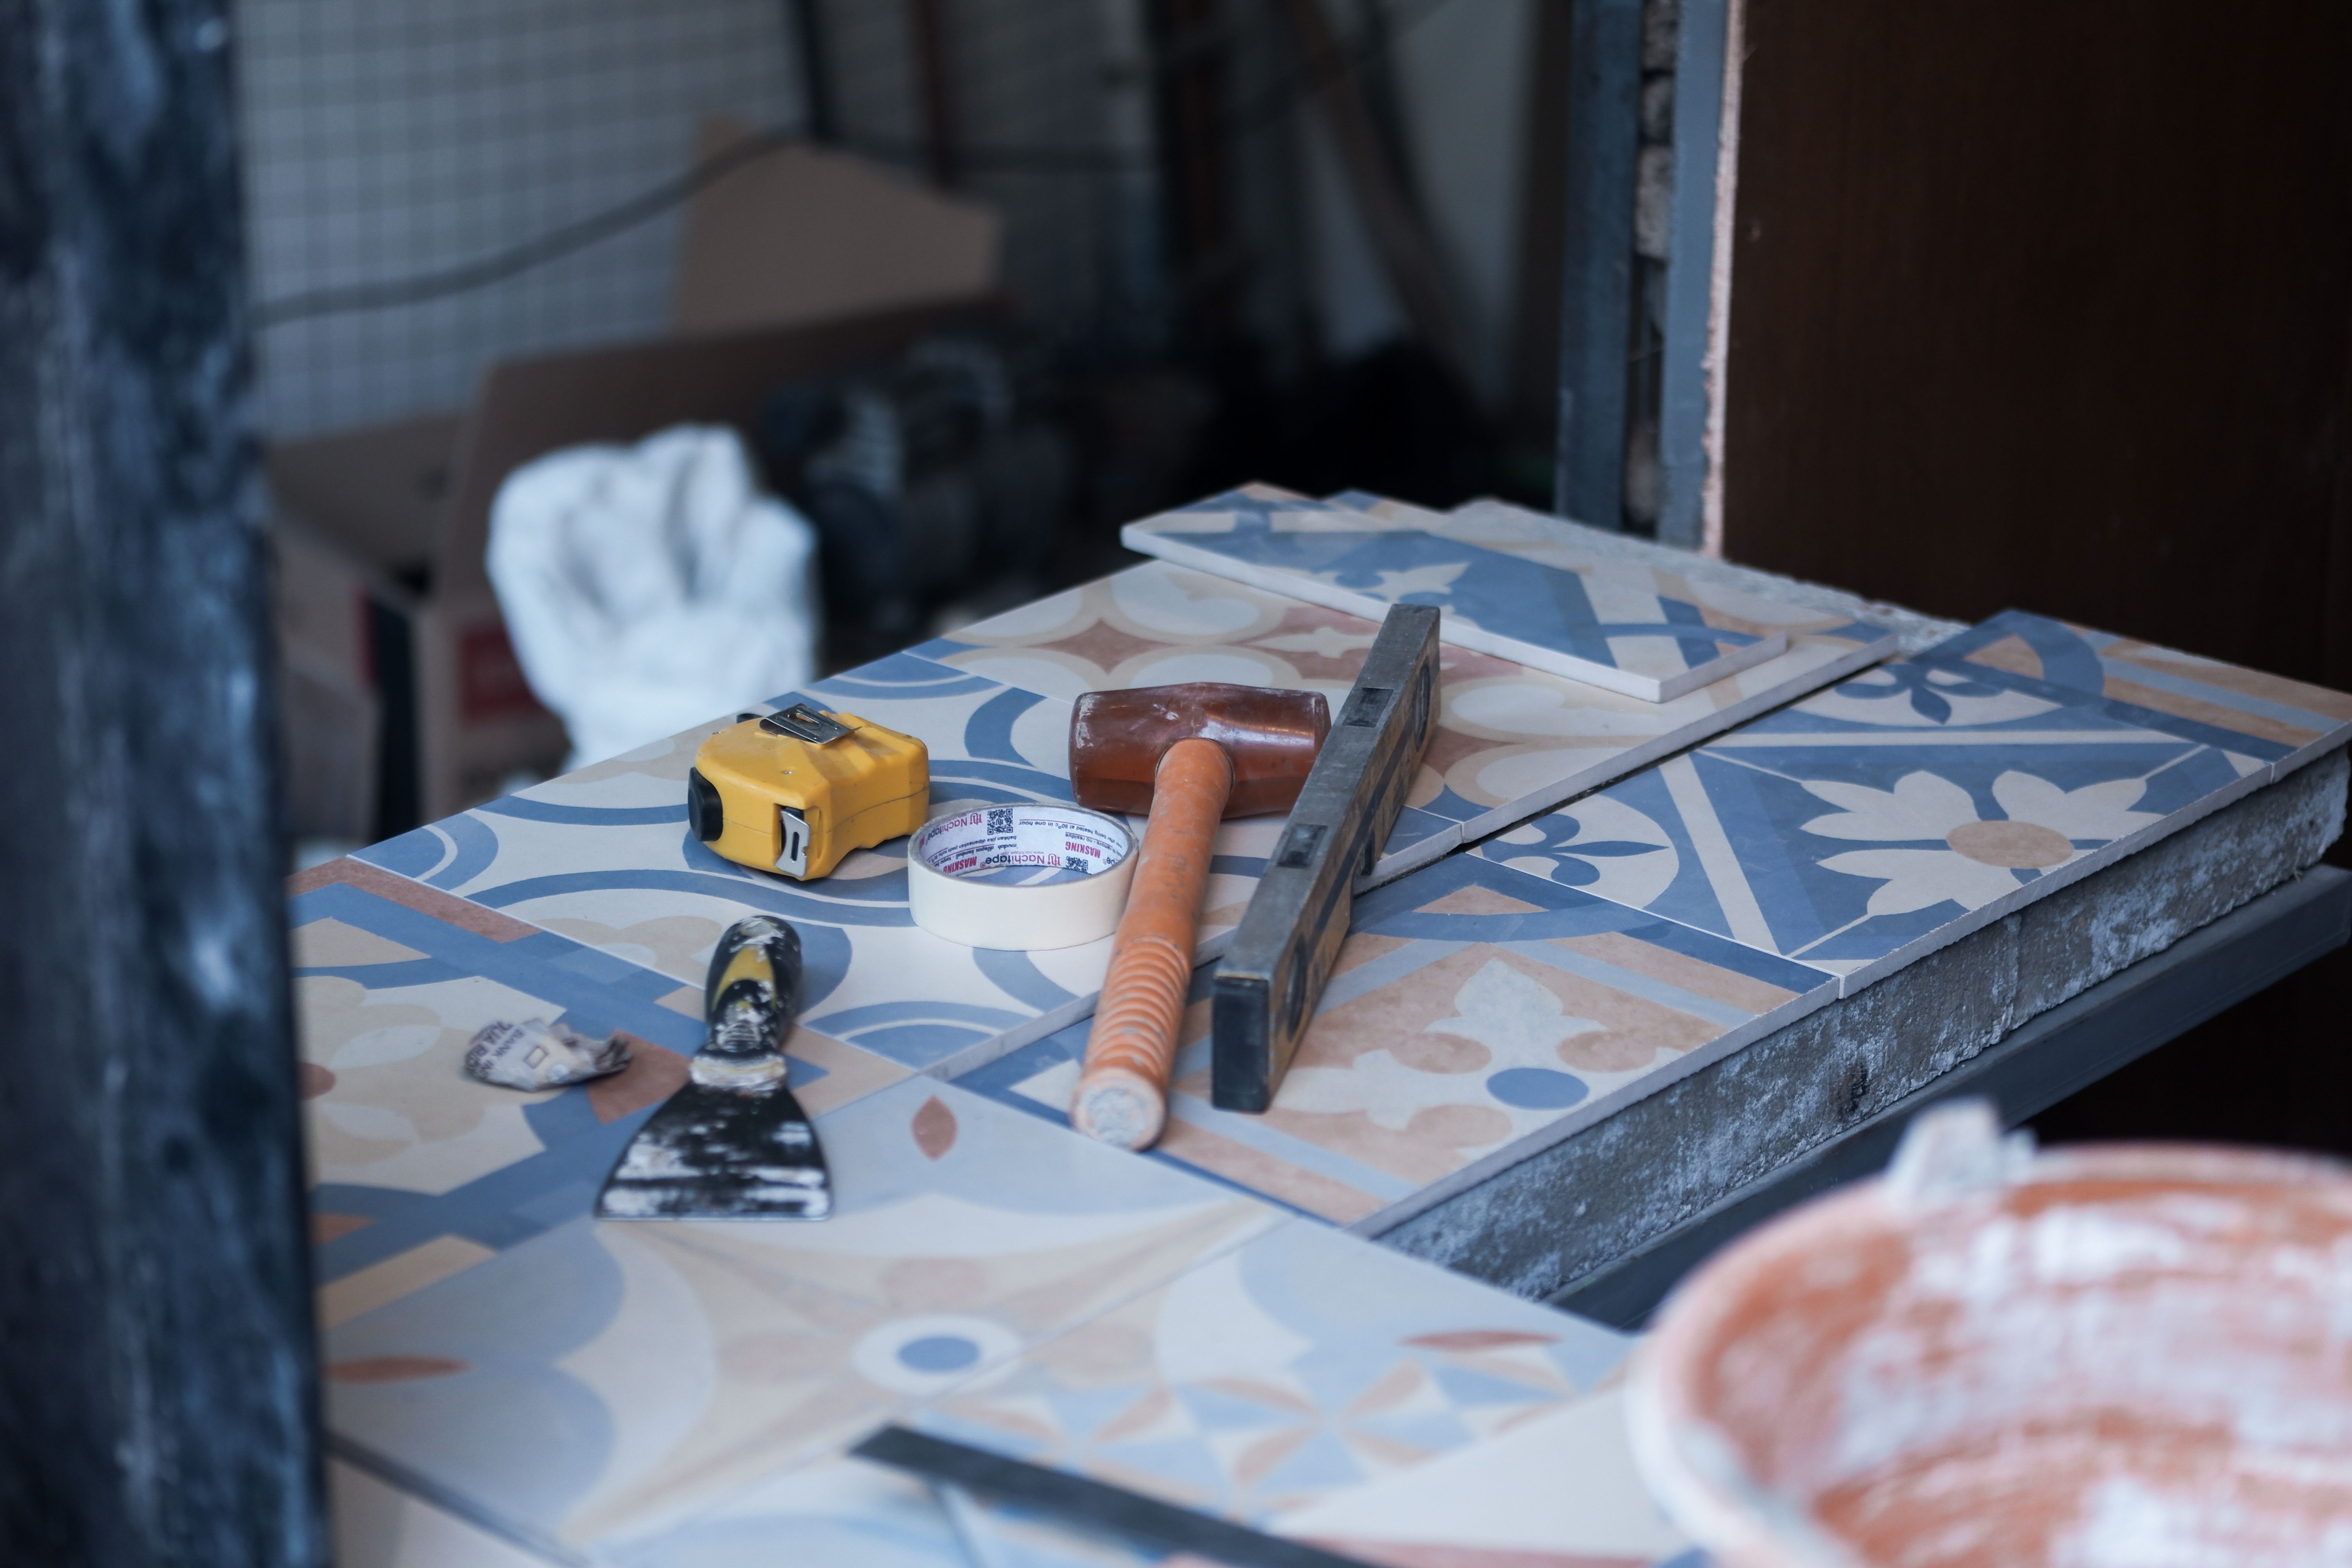
Depending on what the assessment shows, preparation may involve removing old adhesive, cleaning back the surface, filling and levelling low spots, and setting out the layout so cuts land where they look intentional. The aim is a clean, firm, flat base for the tiles you’ve chosen.
There’s more detail on my Surface Preparation page and in Why Preparation Matters as Much as the Finish.
04
LAYER 04 — EXISTING CONDITIONS
What sits
underneath
Some things can’t be seen until the old tiles are lifted. Concealed conditions may only become apparent after existing finishes are removed, and when that happens I stop, show you what I’ve found and explain the practical choices before going further. What Can Be Hidden Behind Old Tiles covers this in more depth.
Costs and timeframes depend on the existing property, the materials you choose and the agreed scope. Any figures I discuss before the assessment are general guidance only. Your detailed written quotation sets out the actual work, and the Quotation & Work Terms explain how it applies. I don’t carry out structural or engineering work, and appropriately licensed specialists complete any plumbing or electrical components.
FLOORS IN OTHER ROOMS
01 — Bathroom Tiling & Renovations
03 — Kitchen Splashbacks & Floor Tiling
04 — Laundry Tiling & Renovations
If your floor needs attention, tell me about it here. Mention your suburb and include a few photos if you can. The on-site assessment and quotation are free. You can also read how the process works first.