GUIDE — PREPARATION FIRST
A better tile can't
fix a poor surface.
Most of the planning for a new floor or bathroom goes into the tile itself. In my experience, what sits underneath matters just as much. Here is what I check before any tile goes down, and why it affects how long the finished surface will last.
IN THIS GUIDE
01 The finish you see
02 What the finish depends on
03 What I check before tiling
04 Under the existing finish
LAYER 01 — THE FINISH YOU SEE
The tile is the part
you notice first.
When homeowners plan new tiling, the conversation usually starts with colour, size and finish. That makes sense, because it’s the surface you’ll look at every day.
Tiles are the last layer of a job, though, not the first. They sit on an adhesive bed, which sits on whatever surface was there before: a concrete slab, a timber floor, a plasterboard or rendered wall. If that base is uneven, loose or in poor condition, the problem doesn’t go away when it’s covered. Over time it tends to show through as cracked tiles, hollow spots or grout lines that open up.
That’s why I keep coming back to the same point: a more expensive product cannot compensate for an unsuitable or poorly prepared surface.
LAYER 02 — WHAT THE FINISH DEPENDS ON
Good tiling is decided
before the first tile.
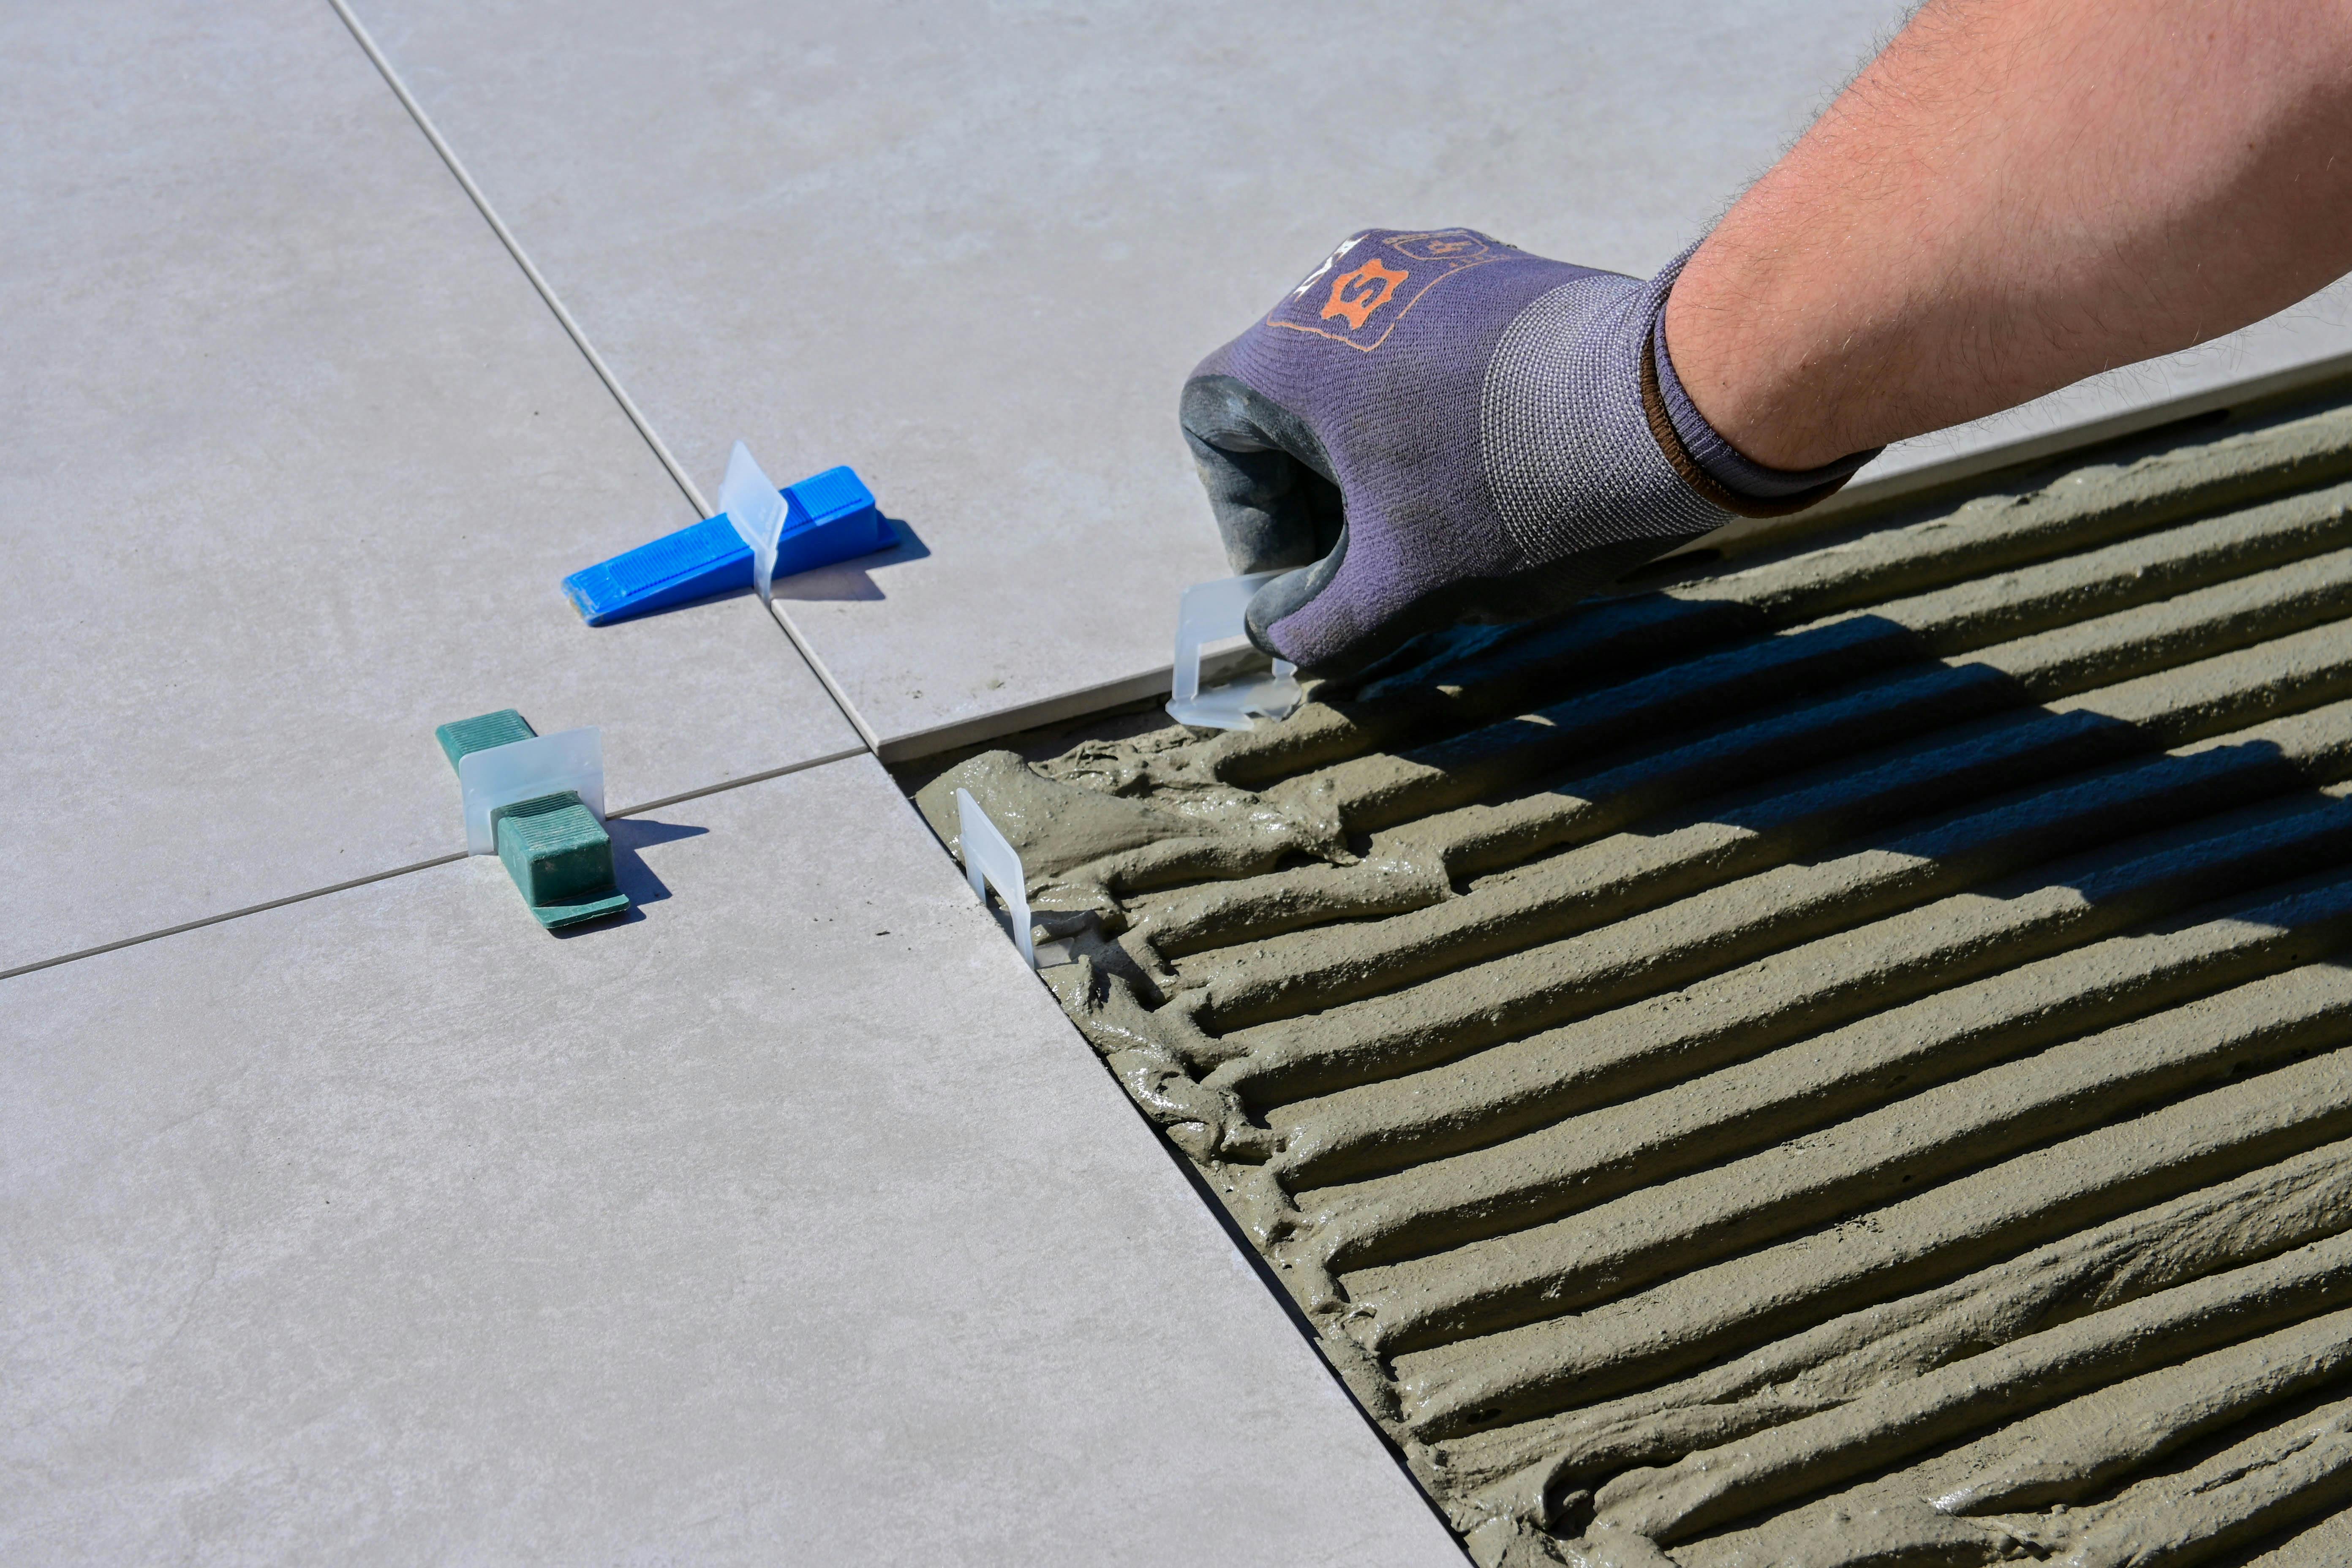
Large-format floor tiles like these need a base they can sit evenly on. Levelling clips help line up the edges, but they can’t correct a surface that dips or rises across the room.
So I look at the existing conditions before I recommend tiles, adhesive or a layout. Sometimes the surface only needs cleaning and minor repairs. Sometimes it needs levelling, patching or removing a layer that won’t take a new bed. Either way, you’ll know before the work starts and before you commit to materials.
LAYER 03 — WHAT I CHECK
What I check
before tiling
These checks are part of every free on-site assessment. None of them needs special preparation from you. It helps if I can see and reach the surfaces involved.
Is the floor or wall even enough for the tile you’ve chosen? Larger tiles show unevenness more, so I check across the whole surface rather than in one spot.
Is the existing surface firmly attached? Hollow-sounding tiles, cracked render or loose sheeting have to be dealt with before anything goes over the top.
What is the base made of, and what state is it in? A concrete slab, a timber floor and a plasterboard wall each need a different approach and different materials.
Old adhesive, paint, sealers and other residues can affect how well a new bed bonds. I work out what’s there and whether it needs to come off.
Cracks and moisture marks can point to a wider issue. I’ll show you what I’ve found and talk through practical solutions. Plumbing and electrical components are completed by appropriately licensed specialists.
LAYER 04 — EXISTING CONDITIONS
Some things only show
once the old finish is off.
An assessment tells me a lot, but not everything. Concealed conditions may only become apparent after existing finishes are removed. If I find something that changes the work, I’ll stop, explain what it is and discuss the options with you before going further.
For the same reason, costs, timeframes and work requirements depend on the existing property, the materials you choose and the agreed scope. Any pricing I mention before a detailed written quotation is general guidance only.

KEEP READING
From the surface
down
05 Surface Preparation: how I get floors and walls ready for tiling
On-site Assessment & Detailed Written Quotation: the four steps of every job
How to Prepare for an On-site Assessment: what helps before I visit