05 — SURFACE PREPARATION
Surface
preparation comes before the tile.
In my experience, proper preparation matters as much as the visible finish. A more expensive tile cannot make up for an unsuitable or poorly prepared surface, so before I recommend any material, I look at what it will sit on.
The on-site assessment and the detailed written quotation are both free.
THE SECTION
Read down from the finish
to what's underneath.
A tiled wall or floor is a stack of layers, and each one depends on the layer below it. The bands that follow work through that stack the way I do on site: starting with the tile you’ll see every day and ending with the existing conditions everything else relies on. For each layer, I’ve set out what I check and why it matters to how the finish lasts.
01
LAYER 01 — THE TILE
The visible finish
The tile is the part you choose and live with, so it gets most of the attention. I check that the tile you have in mind suits the room, the wall or floor it’s going onto and the way the space is used, and I’ll tell you plainly if something else would be more practical.
02
LAYER 02 — GROUT & JOINTS
Set-out and joints
Joint lines are planned before the first tile goes down, so cuts land where they look intentional and the rows run true across the room. I check spacing and alignment as I work, because a joint that drifts early becomes very noticeable by the far wall.
03
LAYER 03 — ADHESIVE BED
Contact under every tile
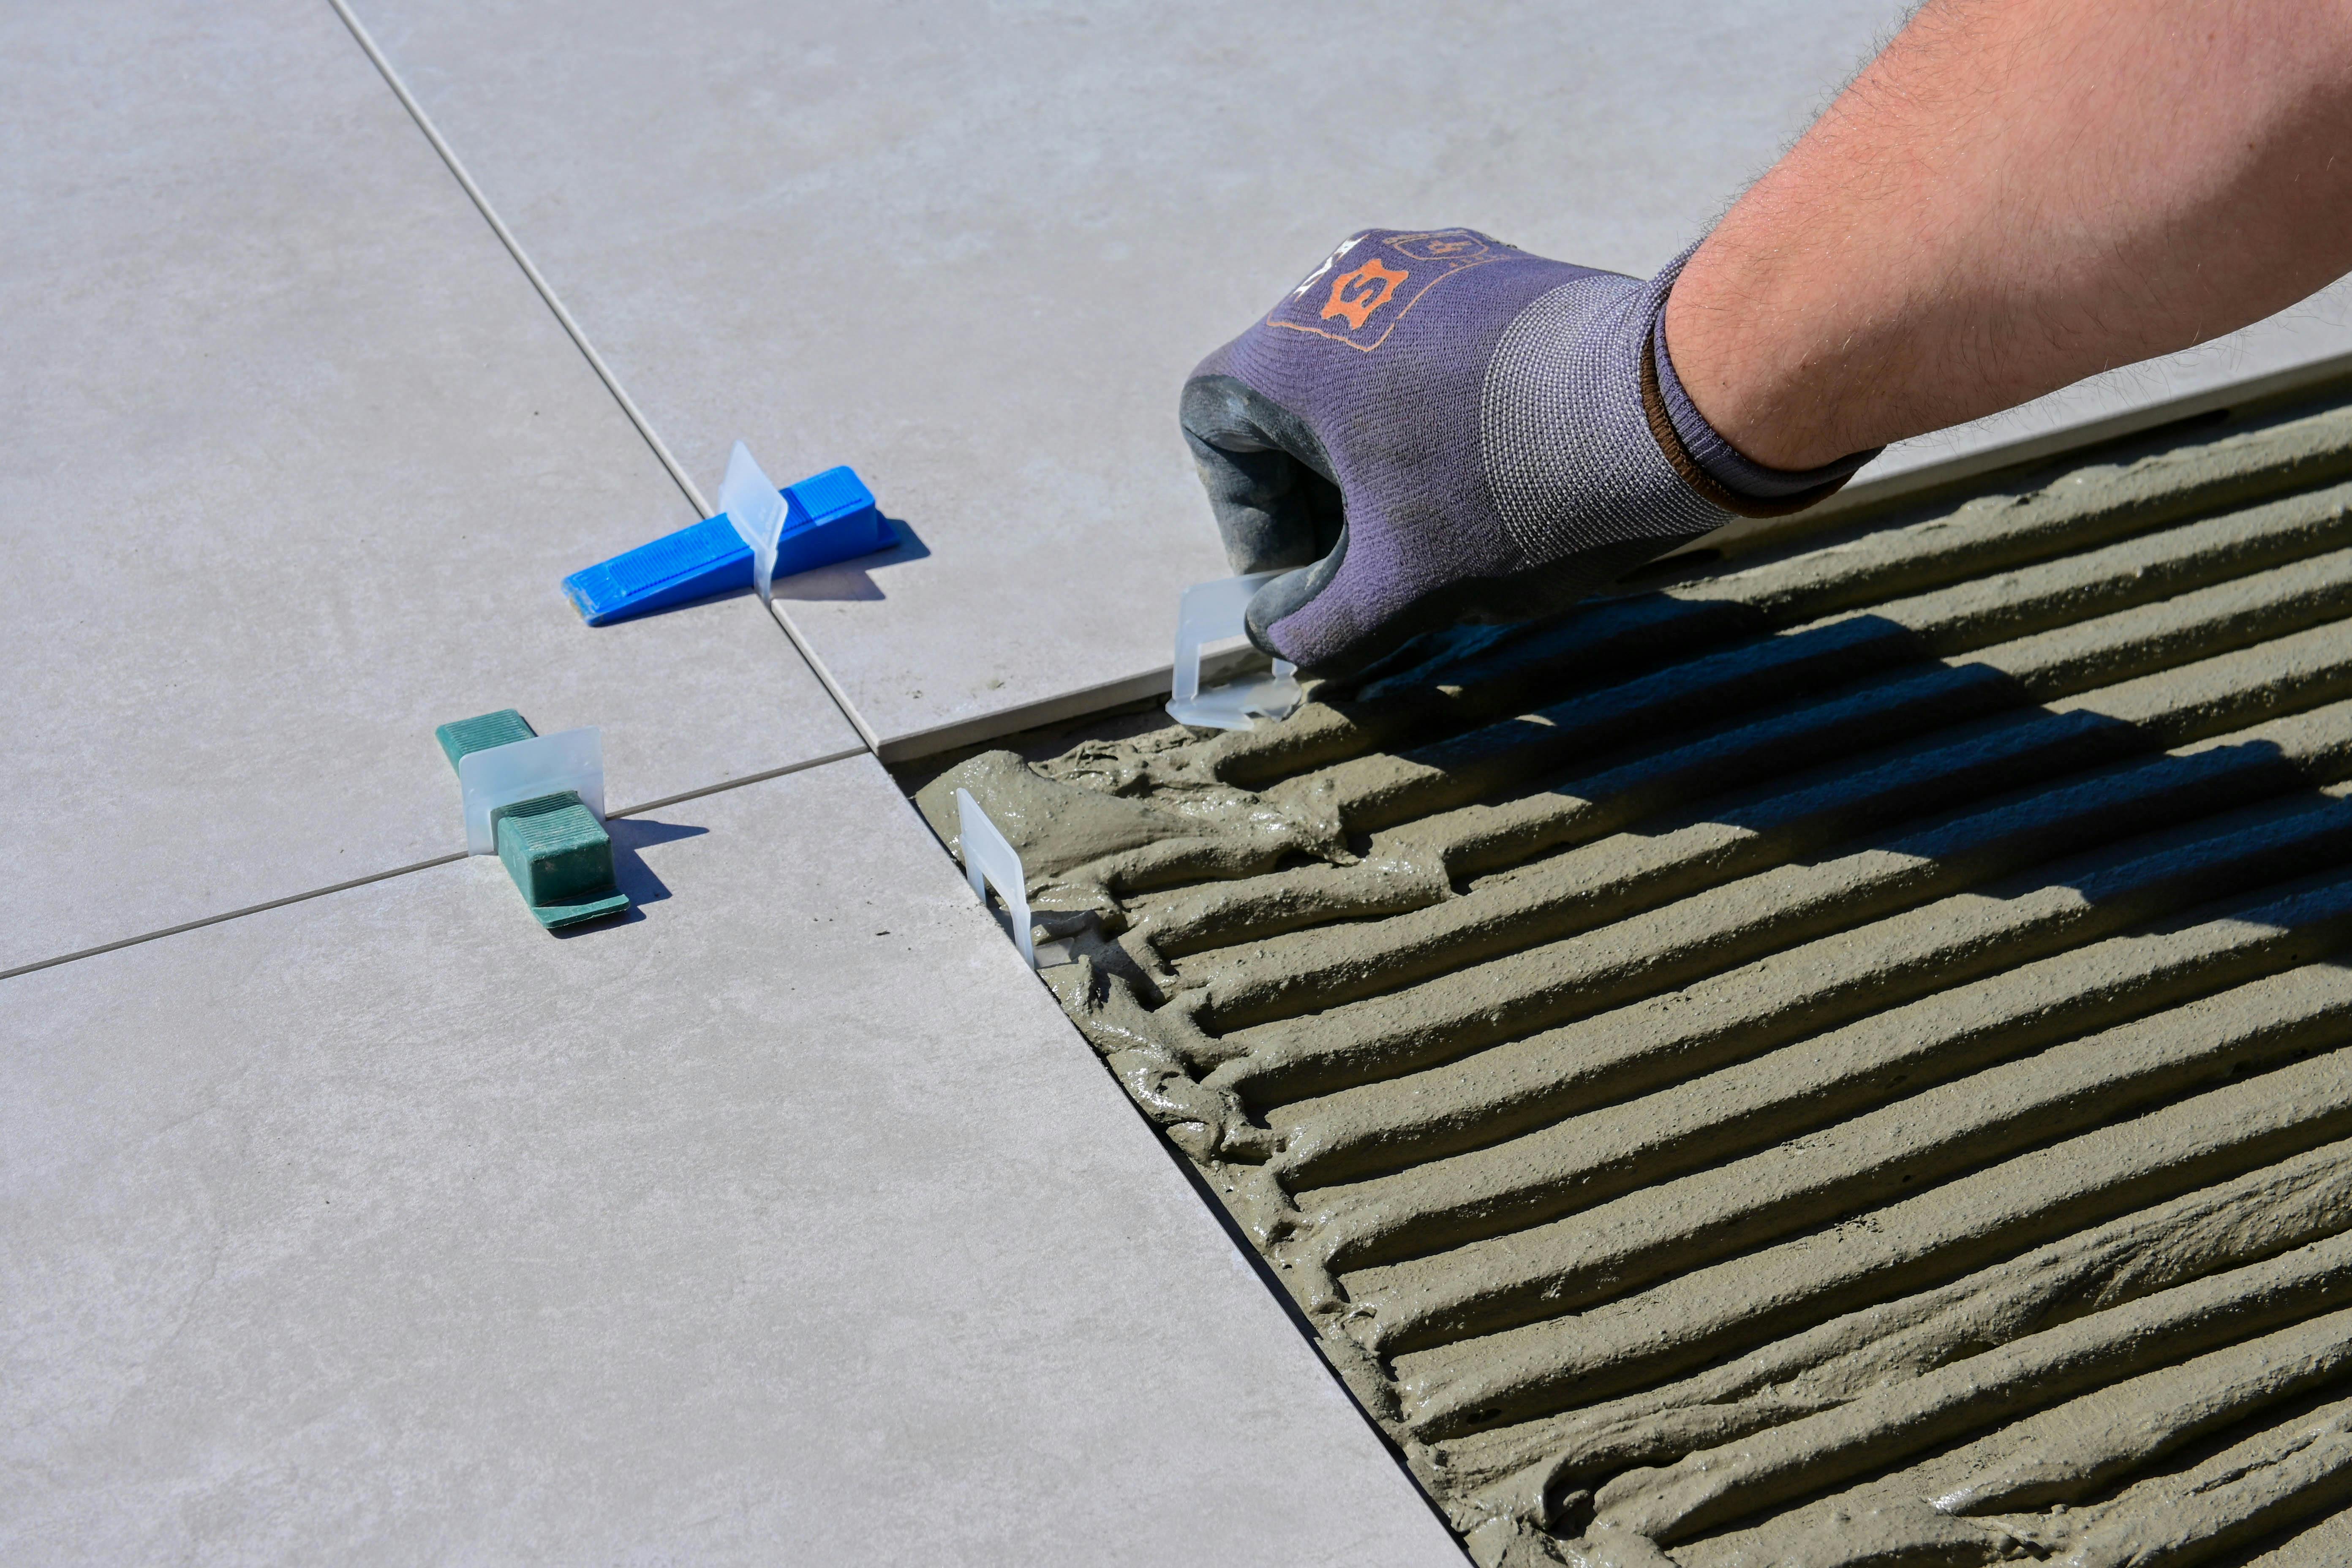
A tile is only as secure as its contact with the adhesive beneath it. I choose an adhesive to suit both the tile and the surface it’s bonding to, and I check coverage as the work progresses rather than assuming it.
04
LAYER 04 — LEVELLING
A flat, sound base
Uneven walls and floors tend to show up later as lipped edges, hollow spots or cracked tiles. I check flatness across the whole area and correct high and low points before tiling, so the finish isn’t working against the surface beneath it.
05
LAYER 05 — EXISTING CONDITIONS
What's already there
Everything above rests on the existing slab or wall, along with any old adhesive, previous repairs and the general condition of the room. I assess these during the on-site assessment before recommending materials, because they shape what preparation the job really needs.
Some concealed conditions may only become apparent once the existing finishes are removed. If that happens, I’ll explain what I’ve found and talk through the options with you before going any further.
Costs, timeframes and work requirements depend on the existing property, the materials you select and the agreed scope. Any pricing is general guidance until it’s set out in a detailed written quotation. What can be hidden behind old tiles →

BACK TO THE SURFACE
Where preparation fits
into your project
Preparation is part of every tiling job I take on, from bathroom walls and floors to kitchen splashbacks and laundries. You deal directly with me from the on-site assessment through to completion. Where a project needs plumbing or electrical work, appropriately licensed specialists complete those components.