CHAPTER 01
01 — The finished tile
02 — Setting out
03 — Surface preparation
04 — Removal & existing conditions
BATHROOM TILING & RENOVATIONS · BENTLEIGH
A bathroom is tiled
from the bottom up.
I tile bathroom walls and floors and carry out bathroom renovation work in Bentleigh and the surrounding Melbourne suburbs. Before I recommend any tile or material, I look at what it will sit on. You deal directly with me from the on-site assessment through to completion.
THE APPROACH
What you see is the last layer.
Most people judge a bathroom by its tiles: the colour, the format, the grout lines. That matters. But in my experience, proper preparation matters as much as the visible finish. A more expensive tile can’t make up for a surface that is unsuitable or poorly prepared.
That’s why each bathroom starts with a free on-site assessment. I check the walls and floor as they are now, talk through what you’d like to achieve, and explain the practical options, including any limitations I can see from the start.
The bands below follow a bathroom tiling job in reverse, reading down from the finished surface to the existing conditions underneath. More detail is in my guide to surface preparation.
01
LAYER 01 — THE FINISHED TILE
Wall and floor tiling
This is the part you live with: bathroom wall tiles, floor tiles, the junctions around the shower and vanity, and even, consistent grout lines. I set each tile against the layout we agreed and check the alignment as the work goes. If you are still choosing materials, my notes on choosing suitable tiles for bathrooms are a useful place to start.
02
LAYER 02 — SETTING OUT
Planning where every cut lands
Before the first tile goes on, I work out the layout. I decide where full tiles start, where the cuts fall and how the lines meet at doorways, niches and fixtures. Small cuts and uneven joints are much easier to avoid on paper than to correct on the wall.
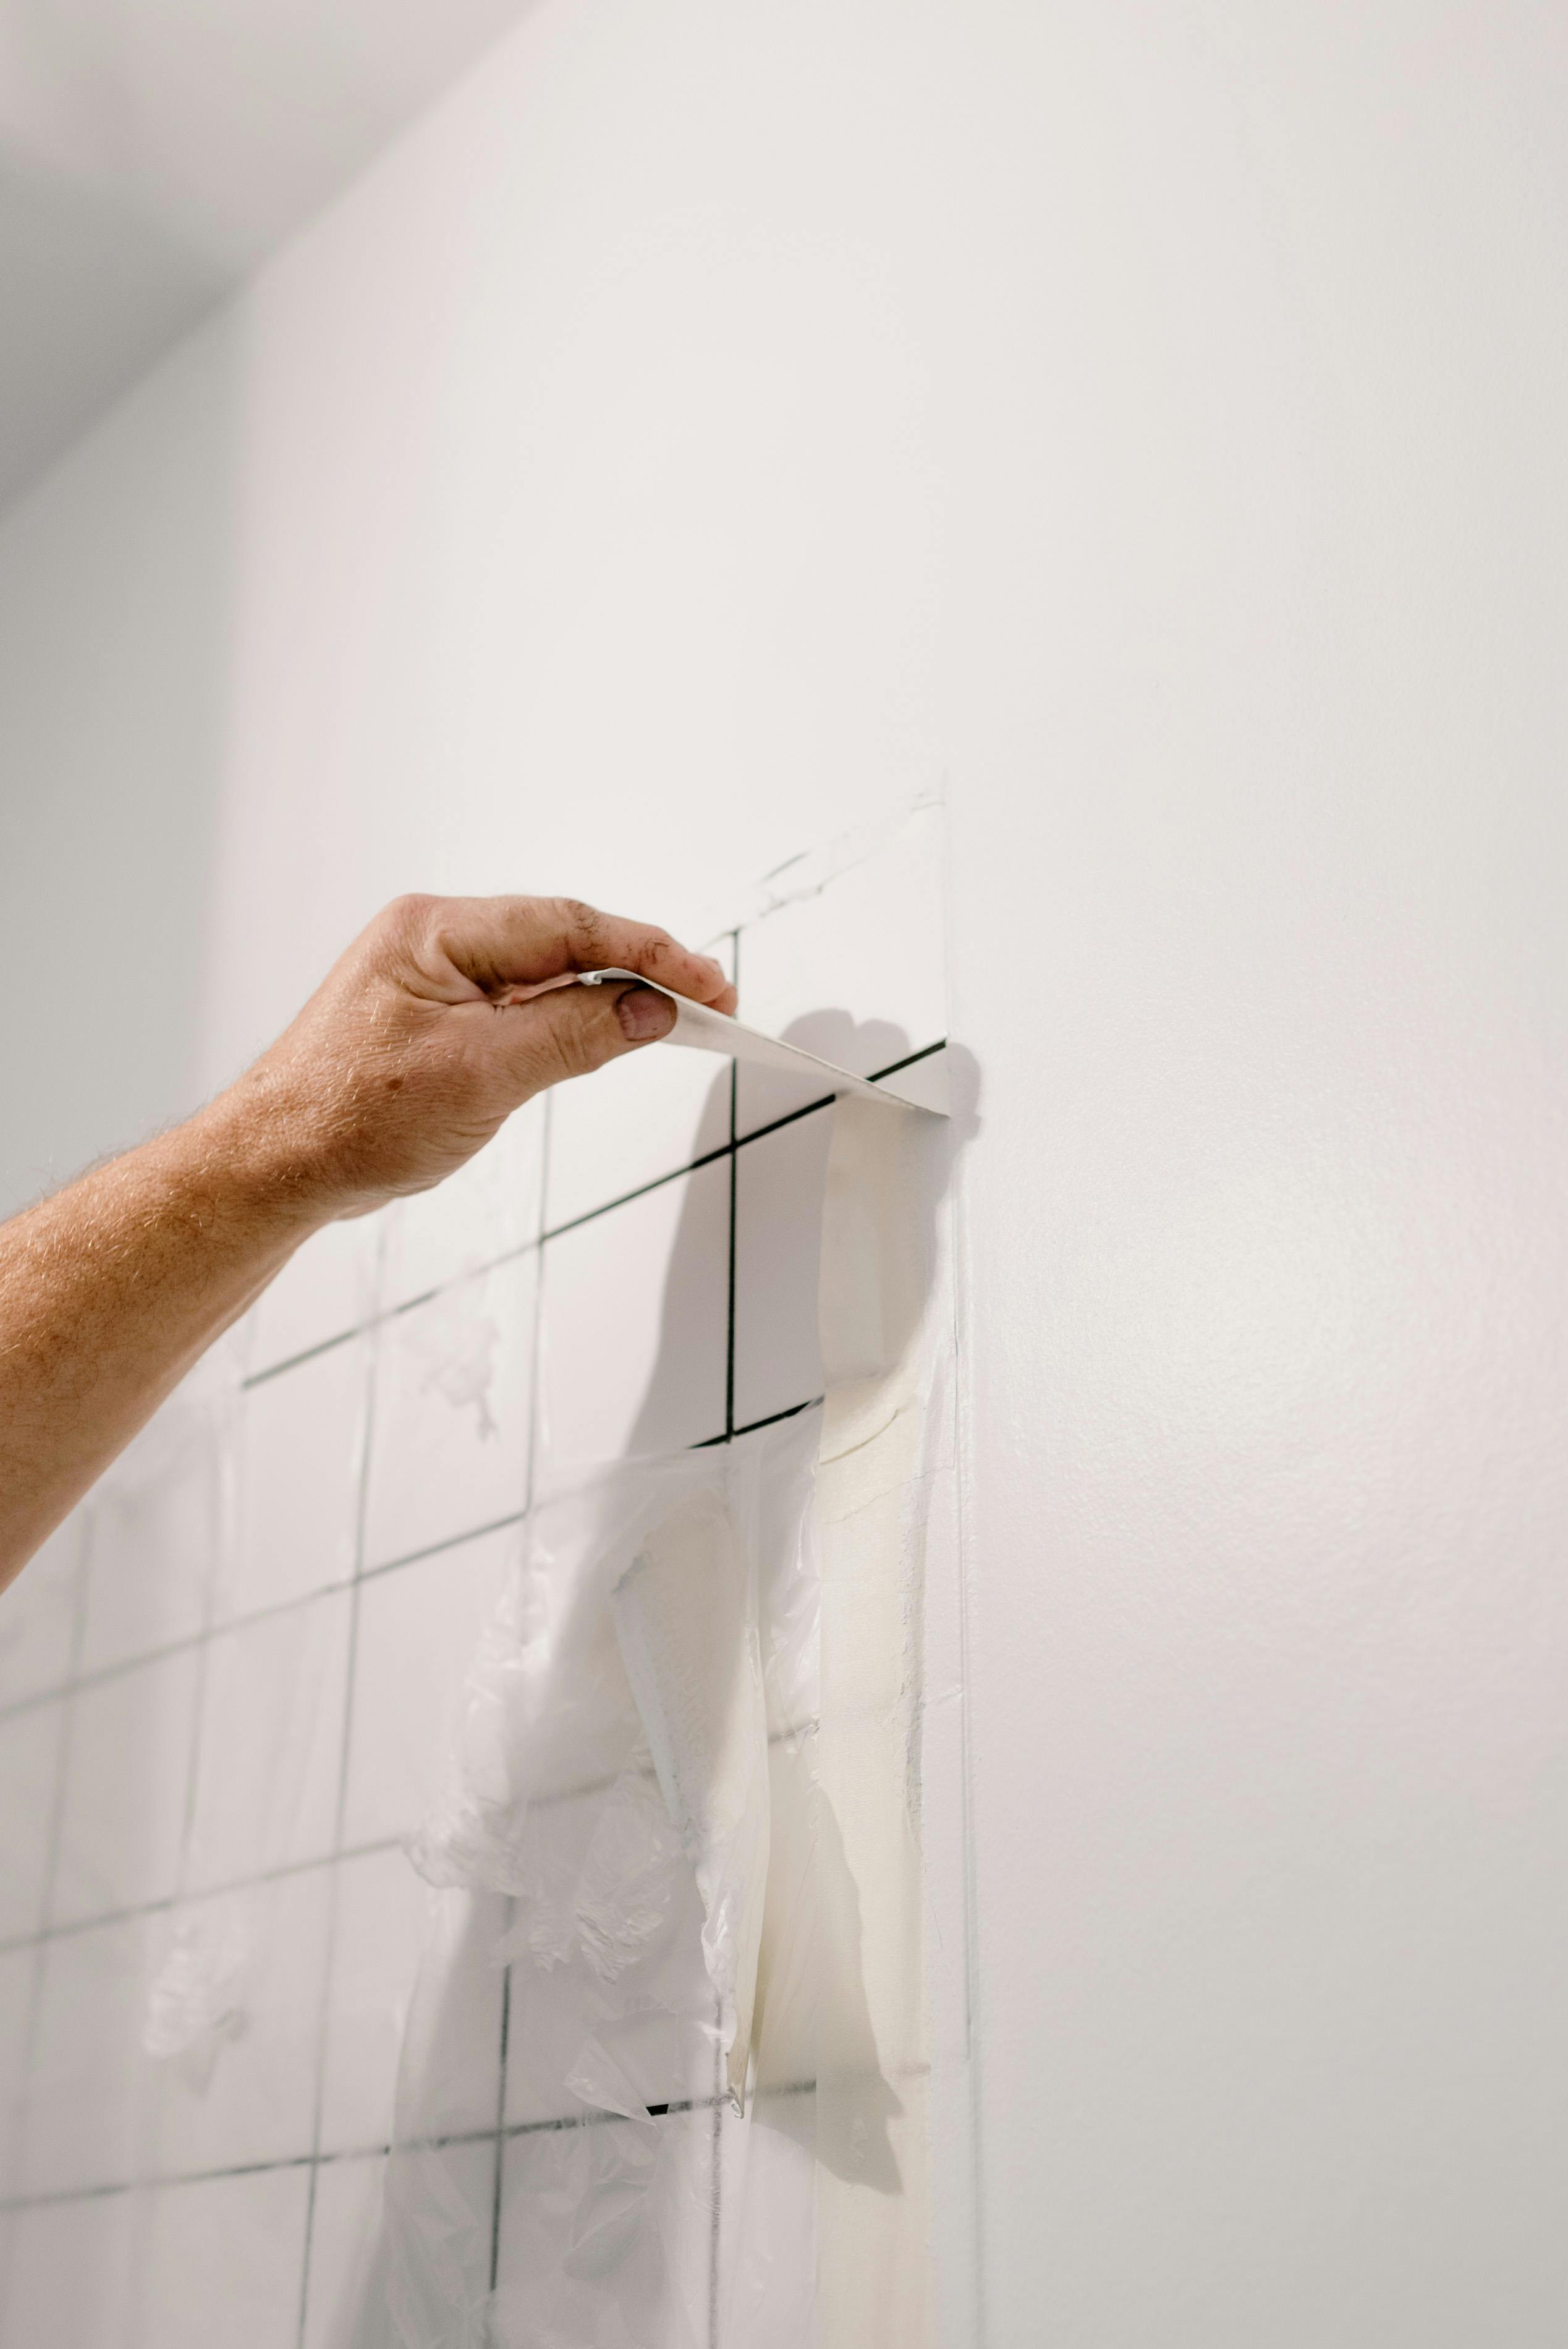
Illustrative stock photograph: wall tiles going on in rows along a set-out line.
03
LAYER 03 — SURFACE PREPARATION
A sound, flat base
I check the walls and floor for flatness, soundness and suitability for the tile you have chosen, then repair, level or prime them as needed. This stage rarely shows in photographs, but it largely decides how the finished surface holds up.
04
LAYER 04 — REMOVAL & EXISTING CONDITIONS
What the old tiles were hiding
Removing the old tiles and finishes shows what the bathroom is really built on. Some concealed conditions only become apparent once the existing tiles come off. If anything changes the work, I’ll explain it and discuss the options with you before going further.
For that reason, the cost, timeframe and work requirements of each bathroom depend on the existing property, the materials you select and the scope we agree. Read more in What Can Be Hidden Behind Old Tiles.

Illustrative stock photograph: cutting a tile slab with an angle grinder, the kind of dusty work that comes before any new finish.
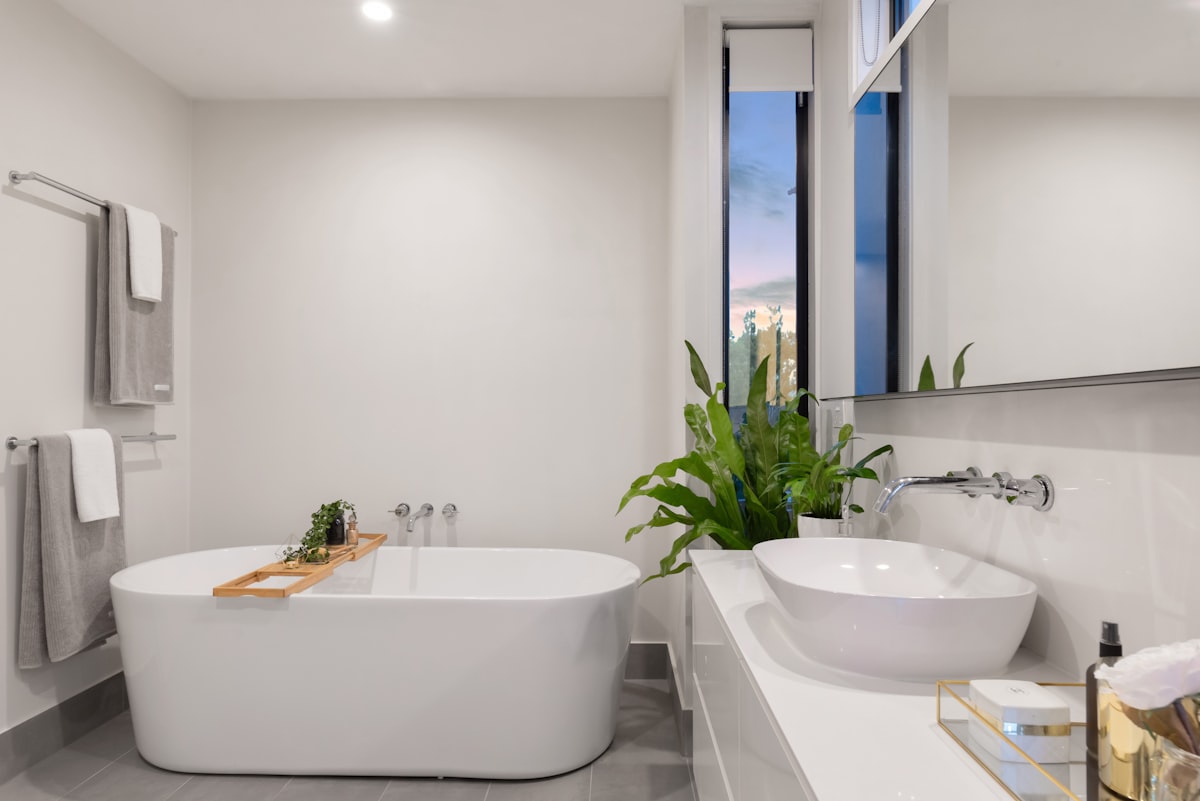
Reference photograph of a finished bathroom.
SCOPE & QUOTATION
How a bathroom
is quoted
After the on-site assessment, I prepare a detailed written quotation that sets out the work I’ve agreed to carry out. Any pricing I give before then is general guidance only.
In a bathroom renovation, appropriately licensed specialists complete the plumbing and electrical components. I plan the tiling and preparation around their work so the stages follow in a sensible order.
Urgent or weekend work may sometimes be possible, depending on availability. You can see how each step works on the assessment and quotation process page and in the quotation and work terms.
Planning a bathroom?
Start with what's there now.
Tell me your suburb and what you’d like done, and add photos of the current bathroom if you have them. I’ll arrange a time to look at the existing conditions in person. How to prepare for an on-site assessment covers what’s worth noting beforehand.